Followers

Showing posts with label gilding polish. Show all posts

Tuesday, 21 February 2023

Designer Boutique Launch

Evening,
There is another fabulous new launch over at Creative Expressions. This time it is a new set of stamps launched under the Designer Boutique range.
The set I got to play with is called Fairy Blooms, and as it contains several stamp designs in the one set I decided that it would work perfectly with the Retiform technique of masking.
This involved lots of masking and ink blending along with stamping.
It is a fabulous way of using lots of stamps on one cards. I also added a couple of fussy cut flowers and leaves.
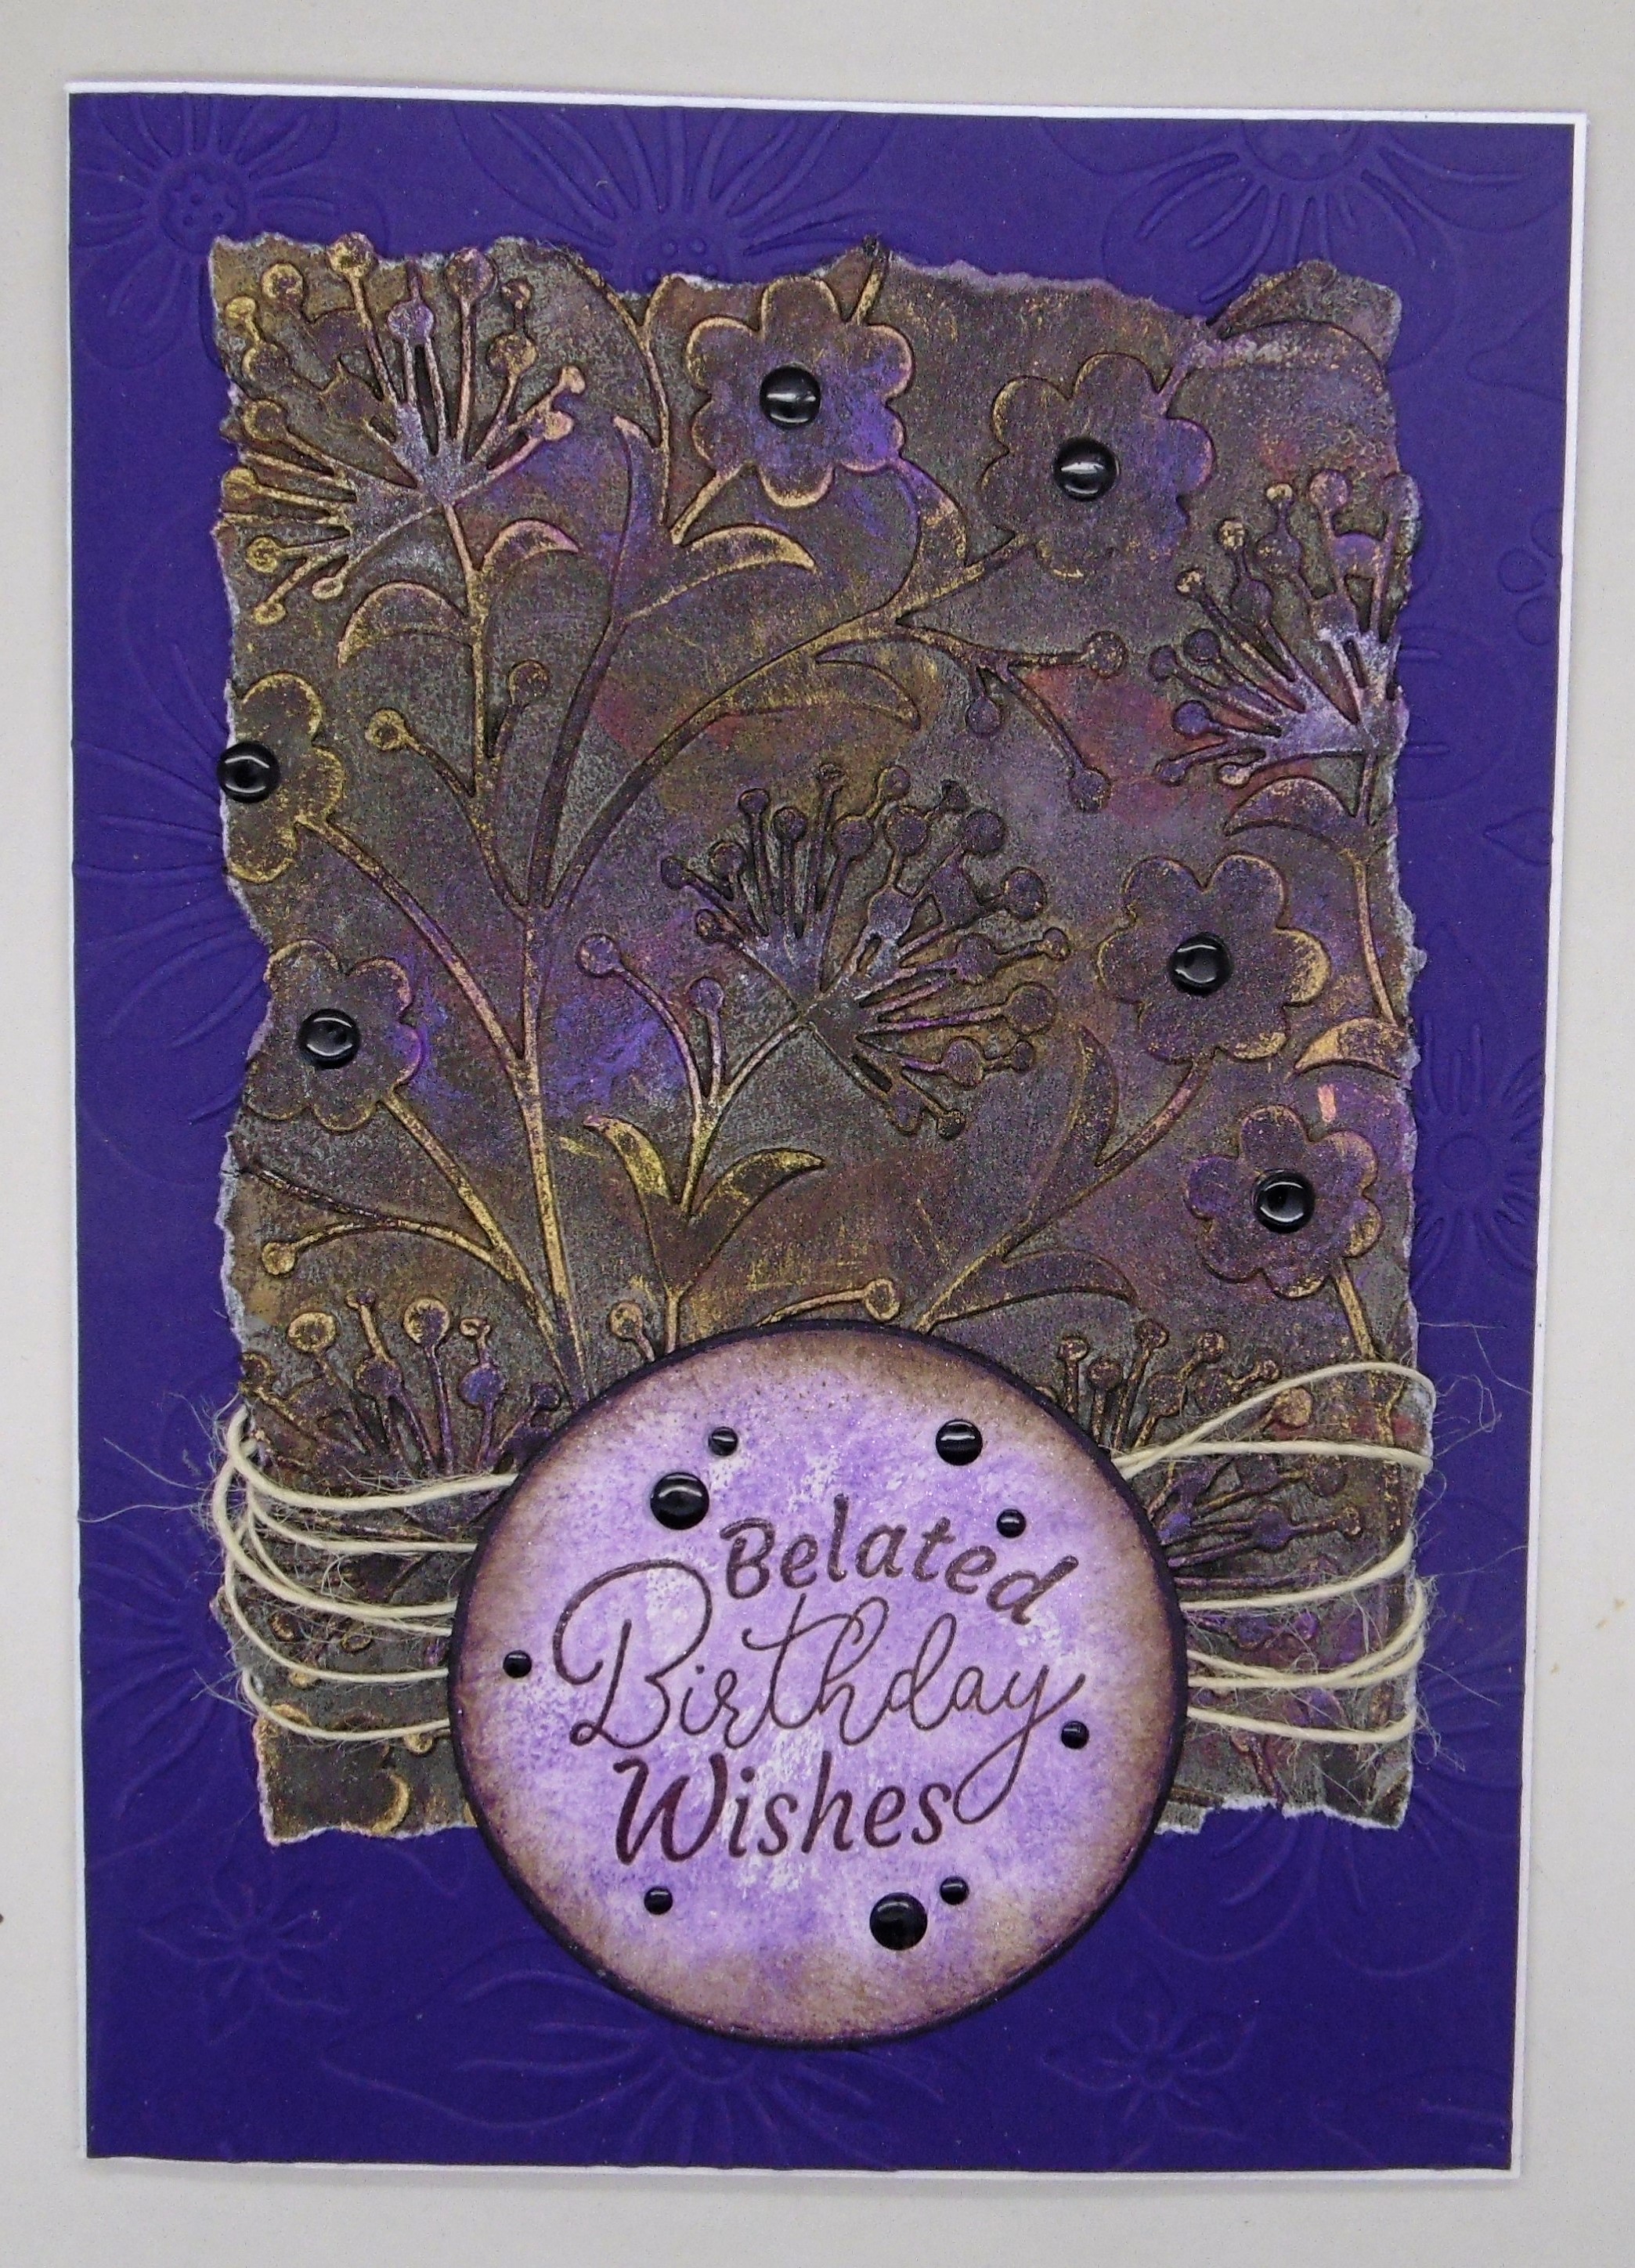
The background to the card base was created using inks, and embossing folder and some Gilding Polish.
Thanks for stopping by.
Love and Crafty Hugs
Kimx
 

Sunday, 19 February 2023

Time to Paint Those Eggs

Evening,
Along with the beautiful 3D Embossing Folder that Creative Expressions recently released, there are some Easter stamps designed by the lovely Francoise Reid.
Normally I wouldn't blog them until Easter weekend, but as the supermarket shelves are groaning under the weight of Easter Eggs at the moment, I decided that I would share this card tonight.
I created the backgrounds using Creative Expressions Pixie Powders.
I love these powders because you never know exactly what you are going to end up with, every background is different even when using the same colours.
I stamped and embossed in white for all of the stamped images and then flooded the paper with water before adding the powders, and then more water.
I also added a little Gilding polish through a stencil in the background and then coloured some of the images with Pearlescent paint. All of the products used are from Creative Expressions.
Thanks for stopping by.
Love and Crafty Hugs
Kimx
 

Wednesday, 7 December 2022

Countdown to Christmas - Day 7

Evening,

I've got some snowflakes for you tonight. I do hope that we aren't in for any, although it is definitely cold enough.

A little bit of letterpress with an embossing folder, if memory serves, and a little gilding wax.
I added a stamped and embossed sentiment,
die cut snowflake and a few well-placed gems.

Thanks for stopping by.

Love and Crafty Hugs

Kimx

Friday, 25 June 2021

A Birthday Shaker

Evening All,

Way back in April I made a bunch of Easter cards using a set of layering dies from Memory Box. See Original Post 

As I said at the time, there were loads of 'bits' that seemed too good to throw away, so I turned them into a few shaker cards, one of which I sent to my little sister for her Birthday today.

I used a couple of large floral dies from Dawn Bibby for the central image on my cards.
Unfortunately as with any shaker card, the acetate makes getting a decent photograph rather difficult.
I filled the black and white version with all of the white die cut pieces along with plenty of glittery bits and pieces from Creative Expressions Cosmic Shimmer range.
I also created a kraft version for the pink and green 'bits'.
I added a bit of gilding wax to the die cut panel for a little added colour.
I hope that my Sister had a nice day, although she seemed to think that it would be spent inside due to the weather. I do hope that we don't get too much rain this weekend as the kids have plenty of plans for me which seem to involve being outside lol.
Thanks for stopping by.
Hugs Kimx

Thursday, 22 April 2021

Embossed Backgrounds

Evening All,

I recently managed to finish off a few more cards using embossing folders.

They all use up some pieces from my bits box. In this case a lovely embossed background along with a die cut peacock which was a free die on a magazine a while ago.
Another piece of inky background which I embossed and then layered with some die cut deer.
I rubbed an inkpad gently over the embossed background to highlight the plaid. I finished off this card with some die cut leaves and flowers and an embossed sentiment.
The embossing on the central panel has been highlighted with gilding polish and then layered on to another piece of embossed cardstock.
And finally a Christmas card using another inky background and a Christmas tree frame.
Thanks for stopping by.
Stay safe and hugs
Kimx

Friday, 16 April 2021

A Kaleidoscope of Butterflies

Evening All,

It's Friday again, and my weekend to babysit the Littlies. I am currently having a sleepover with my Bestie who is snoring for England!!!

I met them in the park this afternoon where we watched some butterflies dancing amongst the greenery, so here are a couple of cards using Jane's fabulous butterfly designs from her latest release.
They are really easy to colour with what ever medium you have to hand.
In this case I used Brushed Corduroy and Faded Jeans Distress inks and stamped and embossed a bunch of images which I could then colour when I found a spare moment.
I do love this leafy embossing folder, as you can probably tell lol.
It works so well with just about anything, and is so easy to highlight with a little gilding wax or some of the many other Cosmic Shimmer polishes that are available from Creative Expressions.
Better get some sleep now. The children have our day pretty much mapped out for tomorrow, what with a bike ride, trip to the park, and some cooking. I can see that I am going to need a granny nap by the afternoon. Perhaps I can persuade them to a little bit of cinema and a snuggle so that this old lady can get a little sneaky shuteye.
Oh well it was just a thought.
Thanks for stopping by.
Hugs Kimx

Wednesday, 24 March 2021

Embossed Embossing Folders

 Afternoon All,

I'm always looking for help in deciding what cards to share with you, and this time I found it on Facebook. So here are a few using Heat Embossing..................and Embossing Folders.

I carefully brayered Versamark ink onto the raised portions of the dry embossed image and then covered it with white embossing powder.
Once the embossing powder has been heated I sponged and sprayed various inks on to the panel till I was happy with the results.
I added a die cut sentiment to the cards which is the best way to make sure that all of the panel can be seen.
The background to this card was made in the same way.
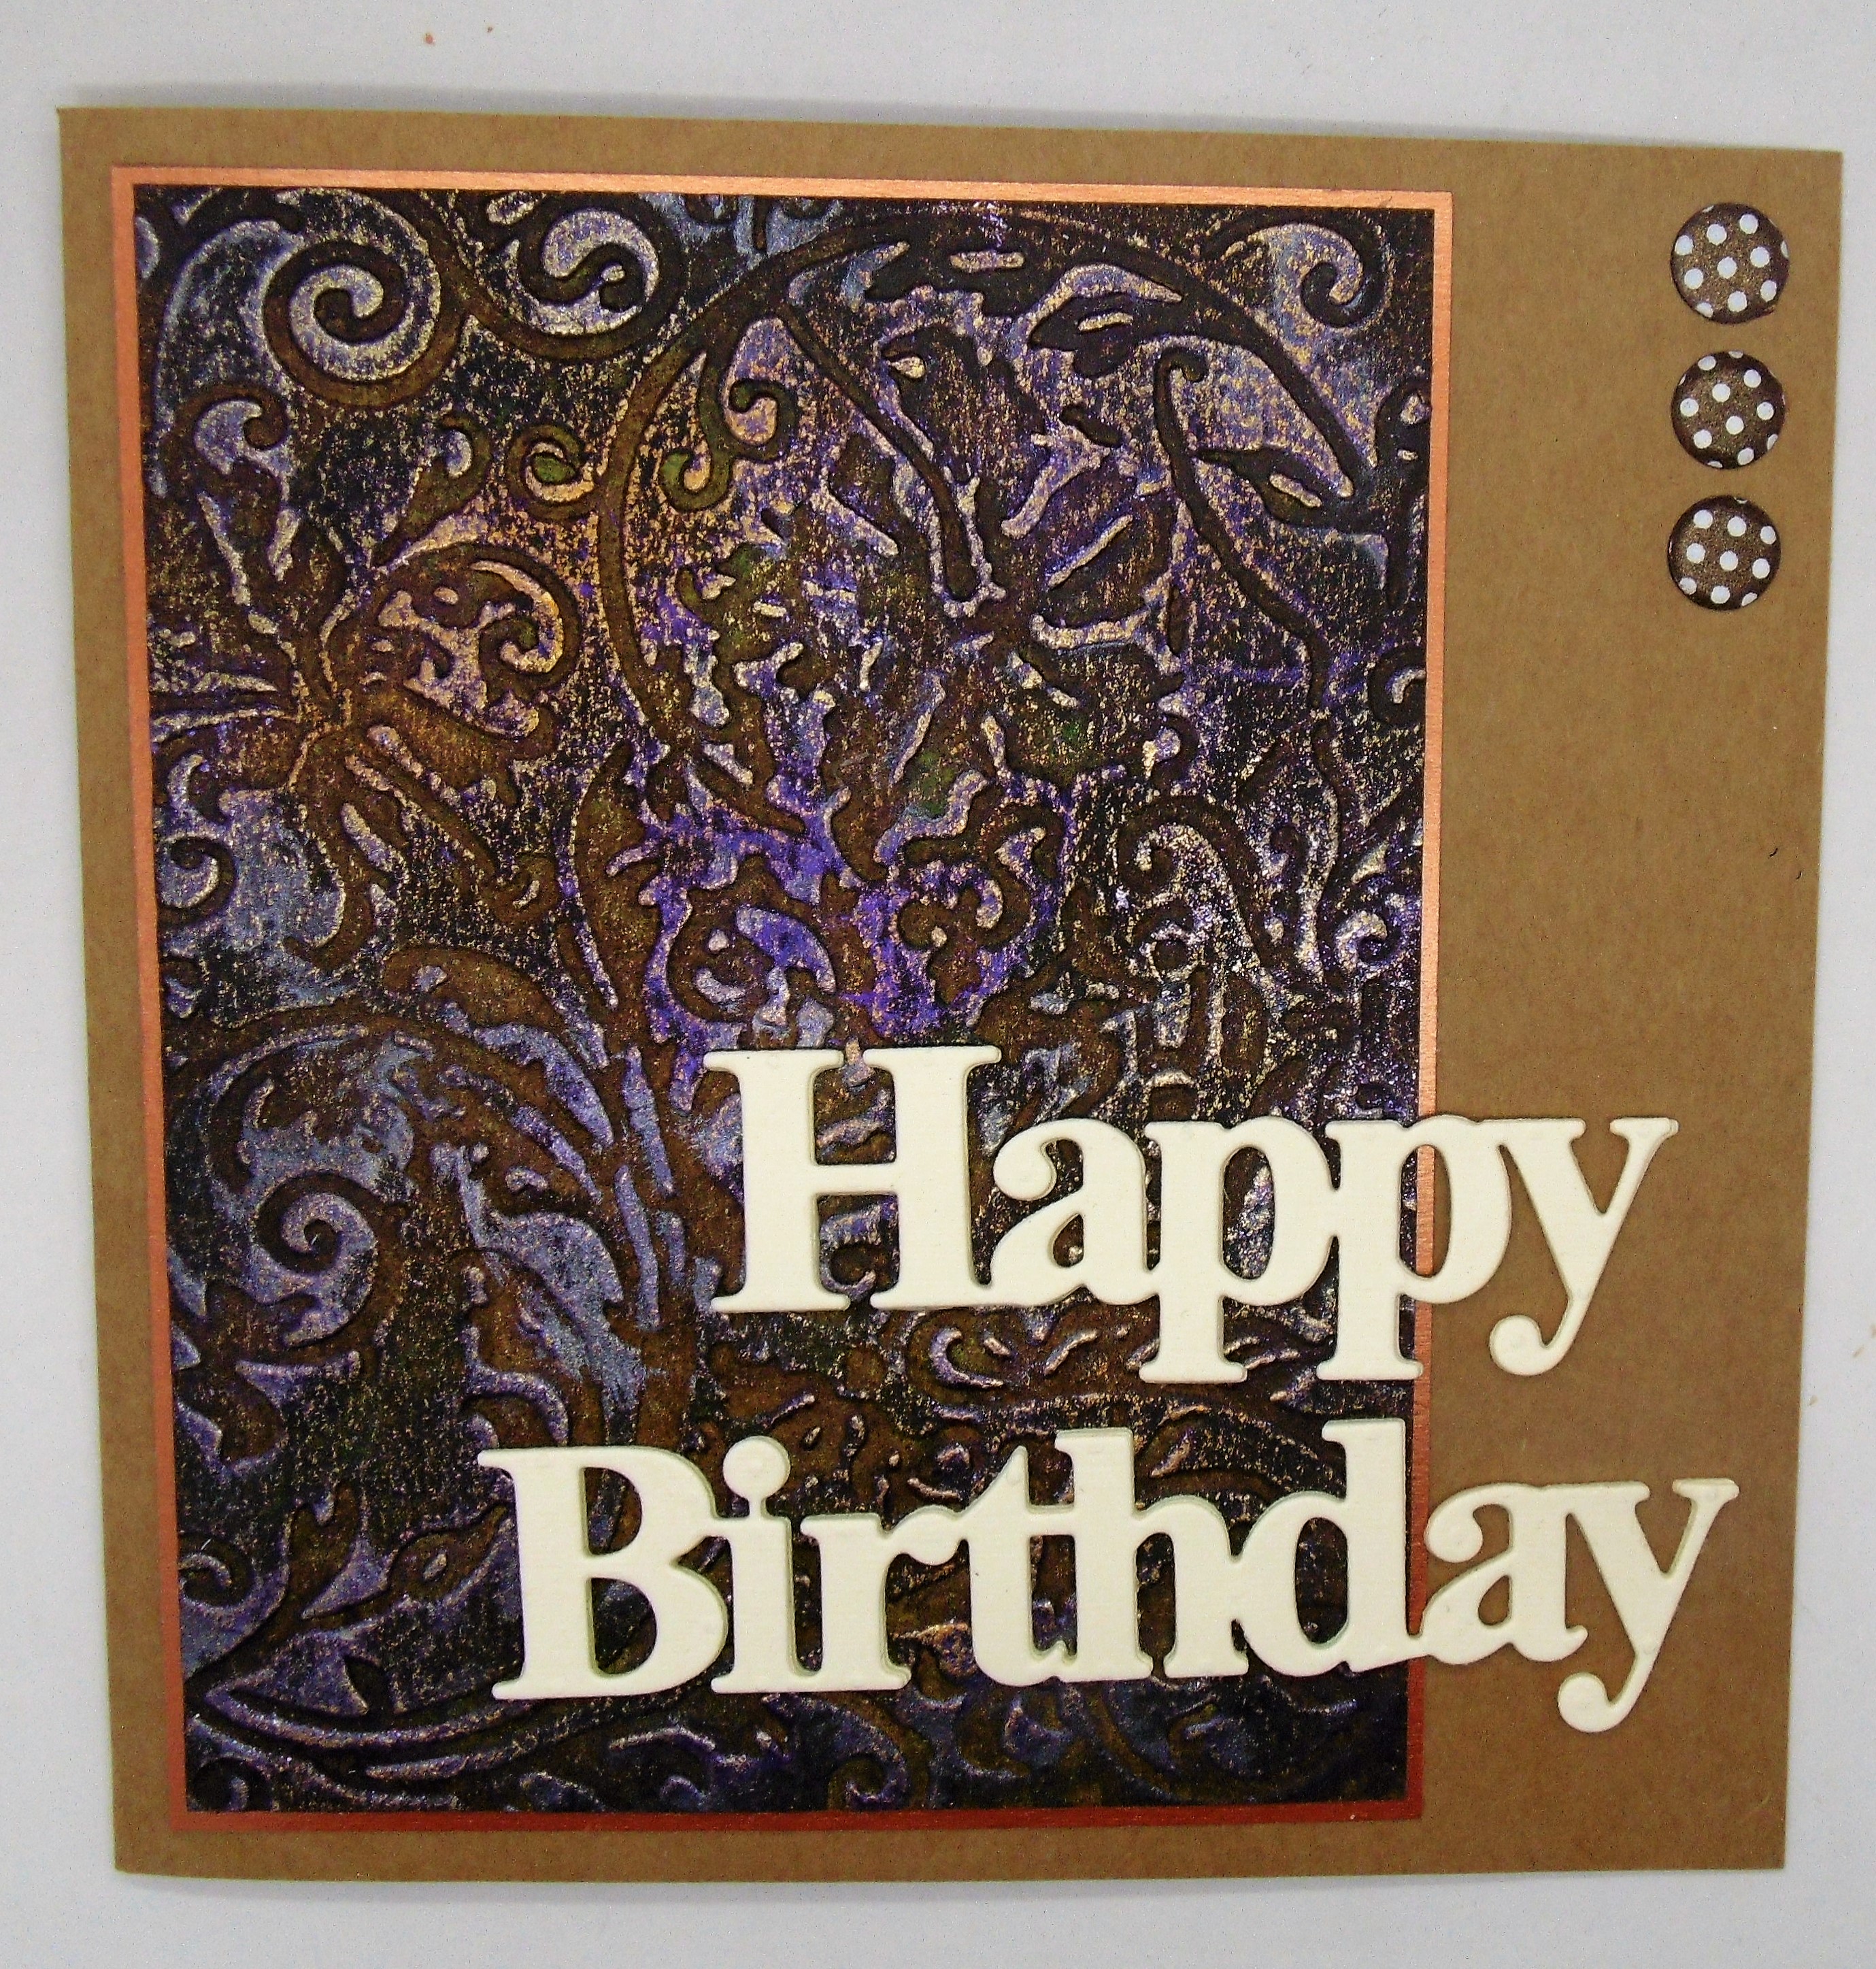
This final card uses the other side of the embossed panel, and instead of inks I have used a variety of gilding polishes,
Once again I used a die cut sentiment. Of course one way of making your die cuts stand out is to cover them with versamark ink and embossing powder. You can repeat this process multiple times for added dimension.
Off to cook the dinner, it's my turn tonight.
Thanks for stopping by.
Hugs Kimx

Wednesday, 13 January 2021

Its Playtime.

 Afternoon,

As I told you yesterday I am still on the DT for Creative Expressions, and today I received a fabulous parcel of stamps and dies to play with for Sam Poole's show on Create and Craft next week.

I haven't done anything crafty for weeks so this is just the spur that I need to get me going again.

In the mean time here is another Designer Boutique card made for Creative Expressions.

I added Peeled Paint, Forest Moss and Faded Jeans Distress inks to a long rectangular acrylic block before spritzing it with a little water and stamping it on to watercolour card stock.
Once dry stamp and emboss UMSDB036 Twilight Grazing  onto the watercolour background and trim. Also add a sentiment from USMDB042 Sending Love stamp set.
I added some Brushed Corduroy distress ink around the edges and then mounted the panel onto black card.
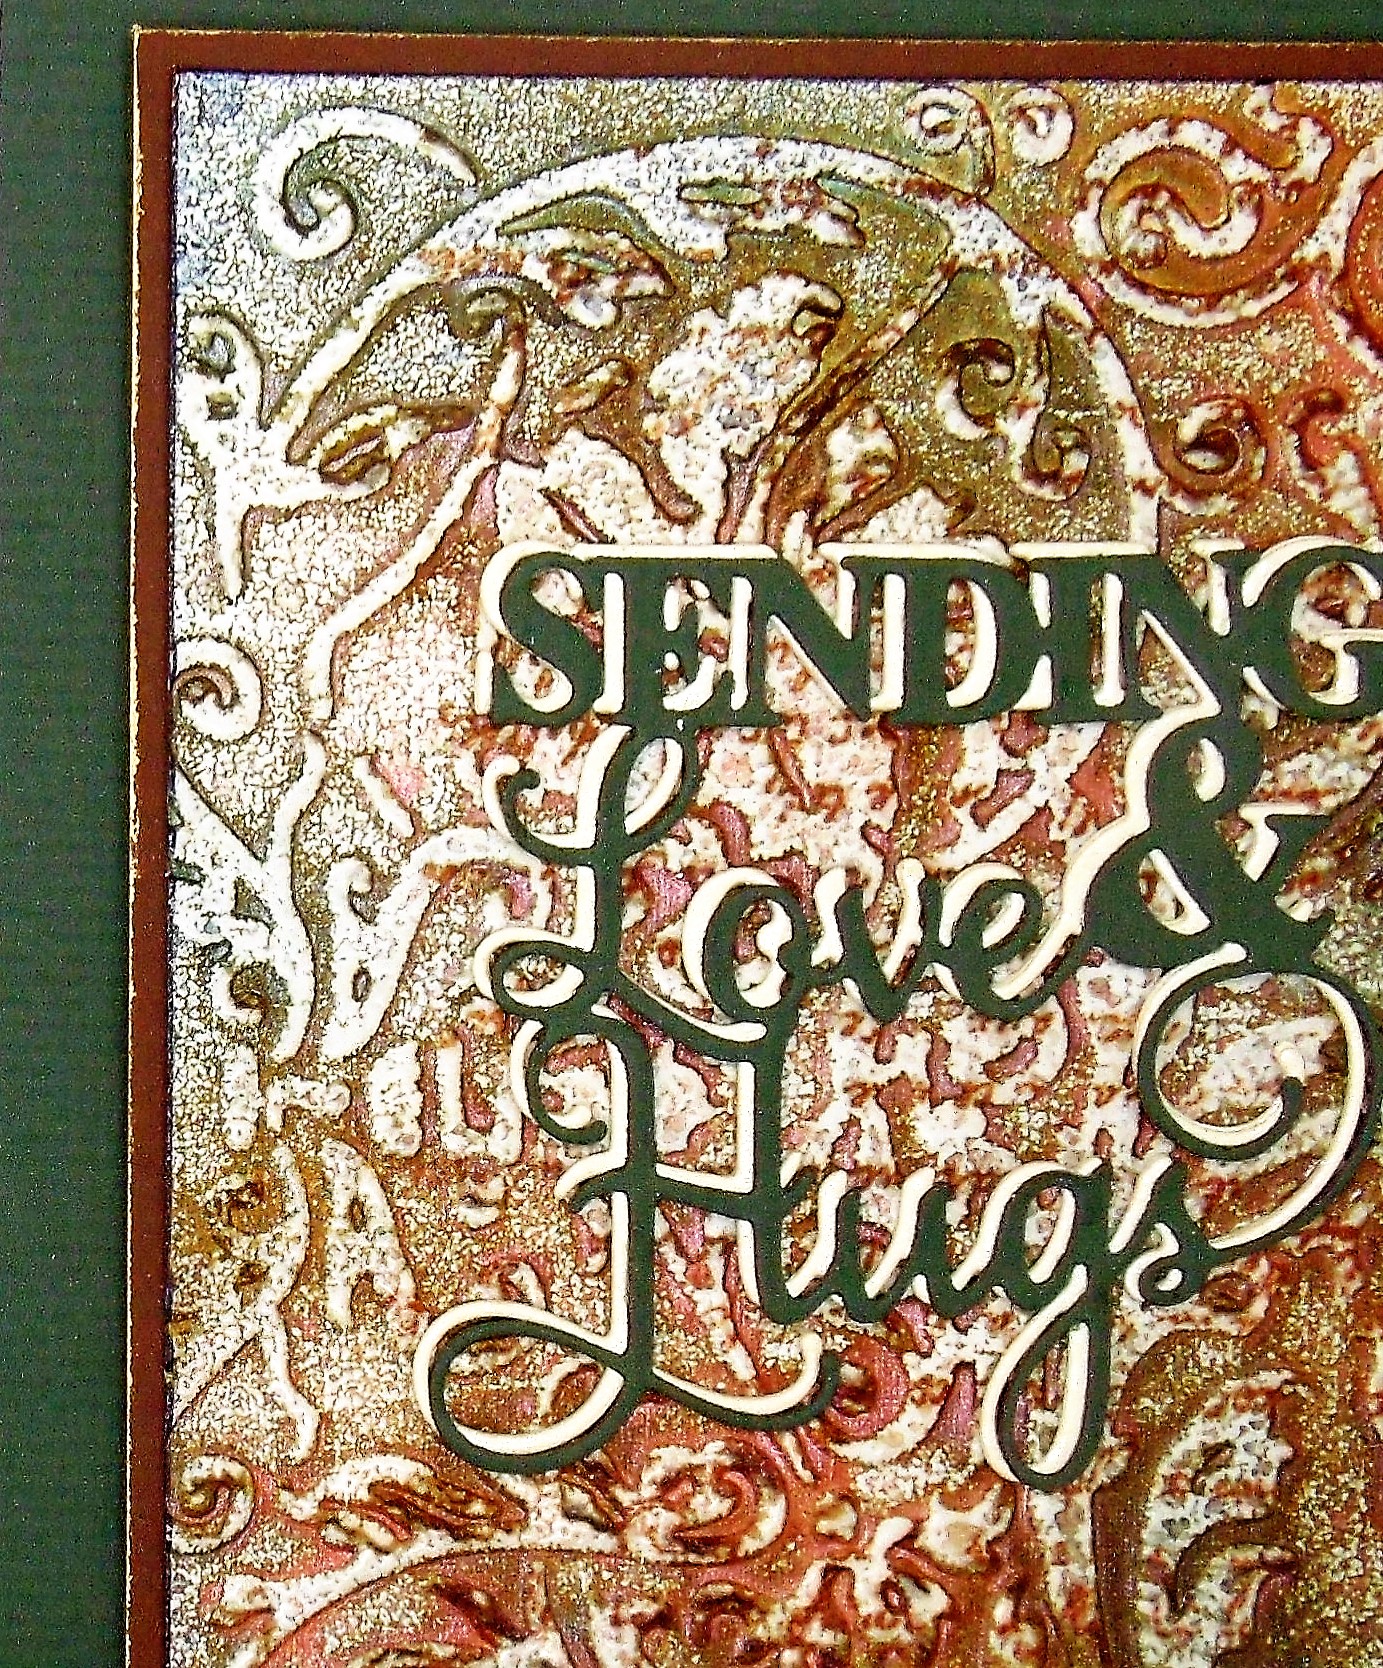
The card base has a panel of black cardstock covered in Golden Olive and Chocolate Bronze gilding polish. I then embossed it using EF043 Leafy Montage and added some Golden Sand Glitter Kiss.
I love these fabulous solid style images from Designer Boutique, they are just my thing.
Need to go and play now...................wow haven't said that in a long time.
Thanks for stopping by.
Hugs Kimx

Monday, 28 September 2020

Leafy Circle

Evening All

Samples safely in the post, and a circuit of the gym accomplished, so a good afternoon all round.

Jane has several lovely small leafy stamps in her latest release, and this card is made using JGM001 Ellie Leaf.
I used Distress Oxide inks in Gathered Twigs, Forest Moss and Crushed Olive.
I stamped and embossed the first circle of images using Gathered Twigs and then stamped the second and third circle of images making sure to wipe off the extra ink which won't dry on the embossing. This gives a slightly smudged look to the image.
I die cut the wreathe using a Dotted Circle die and layered it onto a circular card which has been dry embossed using a leafy embossing folder.

I foolishly embossed the piece of card stock before I die cut it, which of course flattened out some of the embossing, so a little Golden Olive and Chocolate Bronze Gilding Polish added to it helped the embossing to show up.

Thanks for stopping by. Don't forget to check out the latest challenge over at CraftyCardmakers. I didn't manage to make a card for it this time, but me Teamies have some lovely things to inspire you so don't forget to stop by and show them some love.

Stay safe and Hugs

Kimx

Wednesday, 16 September 2020

A Country Cottage

 Evening,
Another card using one of the new Paper Panda dies tonight.
I've told you before that I hate to waste anything, so I have started to keep a piece of plain rice paper on my desk to pick up any inks left over on my craft sheet. This was a tip courtesy of Leonie on Hochanda.
Once it has dried I add it to a sheet of sticker paper and then I can use it as background paper.
For this card I die cut the die from black cardstock and added it on to a circle of the handmade background.
For the card base I embossed another square of black card using a 3D embossing folder from Creative Expressions. I also added Lavender Blue Opal polish and Ocean Teal Gilding Polish to highlight the embossing.
Thanks for stopping by.
Hugs Kimx

Tuesday, 15 September 2020

Paper Panda Apple Tree

Evening All,
Did you catch Gwen on Create and Craft TV today showcasing the new Paper Panda dies?
This lovely Apple Tree Die came in my August Goodie box as part of my Creative Expressions DT commitments.
I die cut the apple from both cream card which I coloured with chocolate bronze and golden olive gilding polish, and black glossy card which I used to create a shadow.
The background panel that I added the apple to was created by brayering white gesso onto cardstock, and then sponging it with Distress Oxide inks once it was dry.
I also cut the die from funky foam and chopped it up a little to create my own custom stamp to match the die. I then used this to stamp down the side of the green card panel using Versamark or Perfect Medium ink.
Part of my remit as DT member is to list all of the products that I have used for each card. This actually turned out to be very useful, since I had completely forgotten that I had used the Gilding Polishes on the die cut apple lol.
I took a photograph of my list so that I had a copy...... my goodness I must have had my sensible hat on that day lol.
Thanks for stopping by.
Hugs Kimx

Saturday, 5 September 2020

Magical Wishes with Designer Boutique

 Evening All,

Did you catch the lovely Suz on the TV yesterday showcasing Designer Boutique Floral stamps and Cosmic Shimmer Watercolour Inks?

Unfortunately they changed the times, so having set up my Sky box to record while I was at my daughters, I missed them all!!!

Never mind I'm sure that she was brilliant. I will have to see if I can find them on Catch Up.

So in the mean time here is a card that I made using one of these fabulous floral stamp sets. 
This one is called Sweet Cherry and contains several stamps including this large floral spray,
and cute dragonfly.

The background to that card is made using an embossing folder and a couple of colours of Gilding Polish.
The sentiment that I added is actually from a Christmas set also in the Designer Boutique stamp range.
Why, oh why have they messed around with Blogger again??
I know I hate change, but if it ain't broke, why fix it? This has taken me twice as long as normal cause I can't find how to do things that were second nature before. Aaaaaaarg!!!
Have a great weekend.
Happy Crafting and hugs
Kimx