Followers

Showing posts with label pearls. Show all posts

Monday, 9 January 2023

Sending Love and Sympathy

Evening,

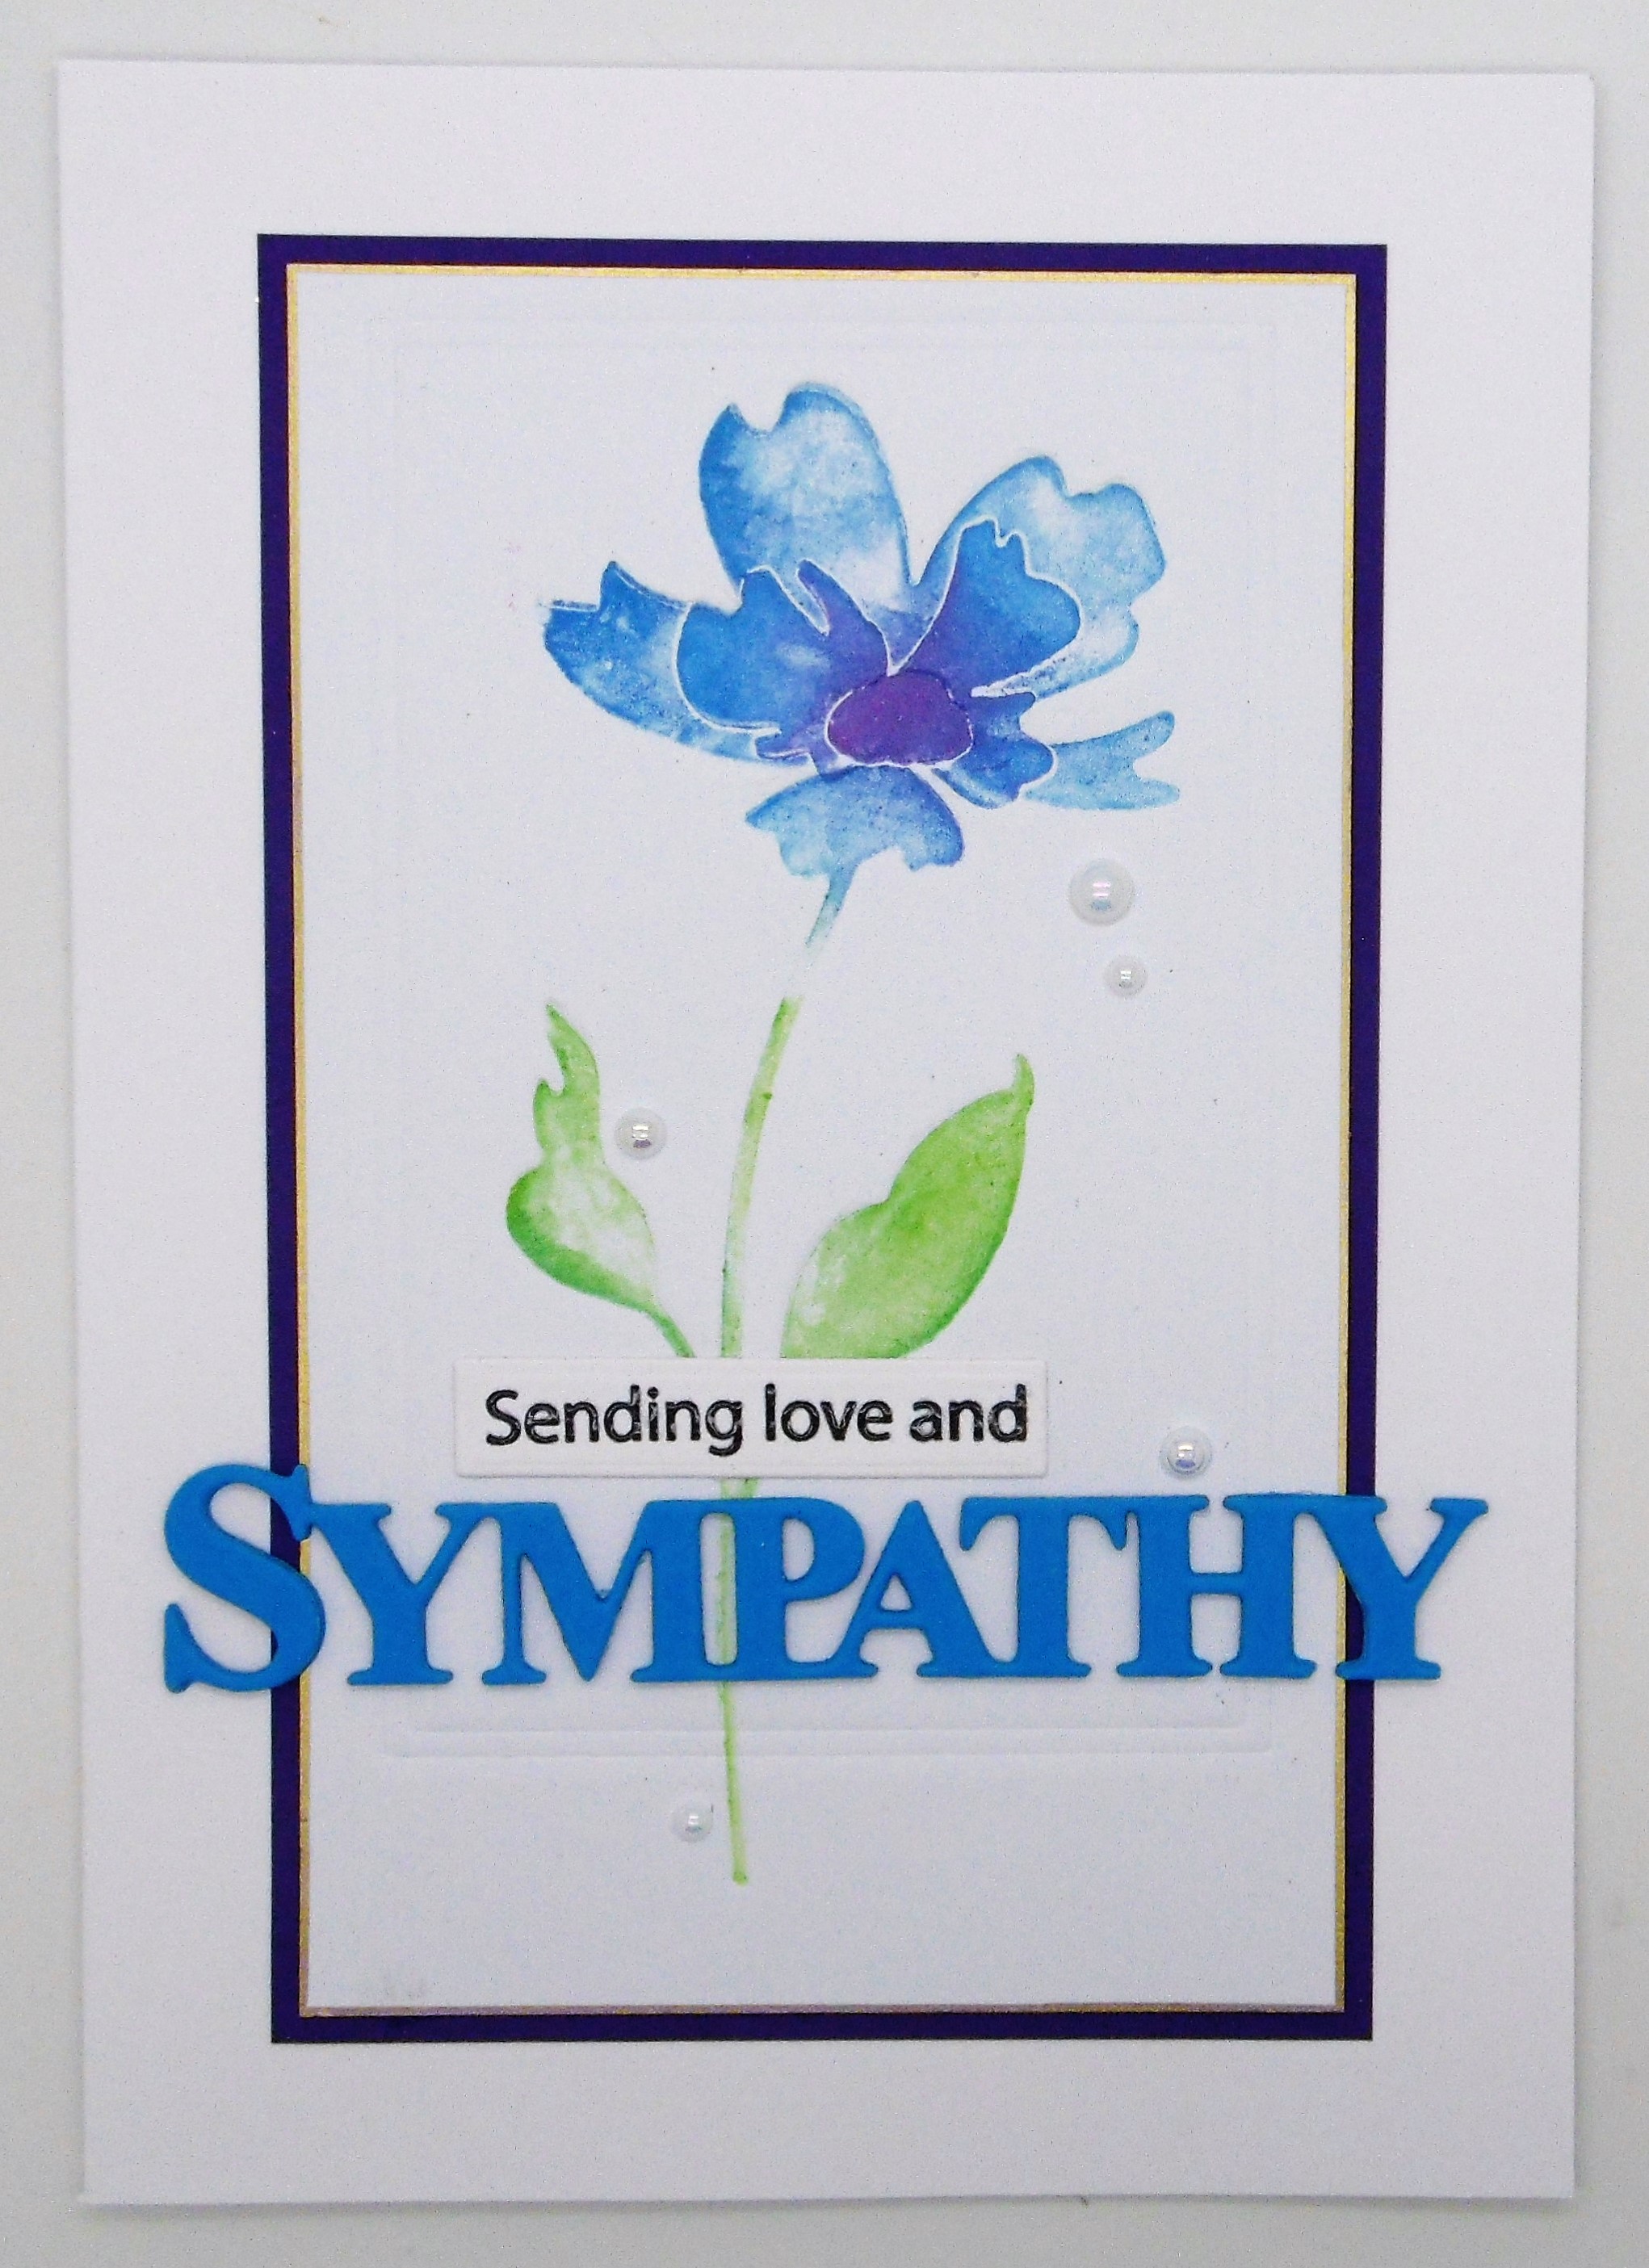
Sadly I have the need to put a couple of Sympathy cards in the post, so here are some made using stacked die cuts for a letterpress technique.

I used a floral layering die and cut each piece several times from scraps of cardstock and once from vellum. 
I stacked each of the pieces with the vellum as the final layer and then constructed the floral design. I added ink to the image as if it were a stamp. Set up your embossing machine as if you were going to use a die with the rubber embossing mat and then place the inked die cut downwards onto a piece of white cardstock and run it through the machine.

This gives you a fabulous letterpressed image. The vellum layer stops the ink from soaking into the die cut so that you get a better impression on the card.
Same card just a variation in colour. I added a die cut and stamped sentiment to each.
I also embossed a rectangle around the image using a plain or stitched die and a few pearls.
These are always the hardest of cards to make, but from experience, I know just how much they mean to the recipient.
Thank you for stopping by.
With Love and Crafty Hugs
Kimx

Monday, 21 March 2022

Celebrate the Sunshine

Evening,

I had a wonderful weekend with the 'Littlies'. It was so nice to hear them out in the garden in the sunshine. I managed to get a bit of weeding done before the weeds get too big and strangle all the plants. Why is it that weeds seem so easy to grow, whatever the weather, but we have to be so careful with anything pretty that we plant. 

Thankfully I know enough about gardening to know that it was too early to plant anything despite the beautiful sunshine. I got an early lift home as reward for all my efforts, and there was a heck of a frost when we left. It would definitely have killed off anything fragile.

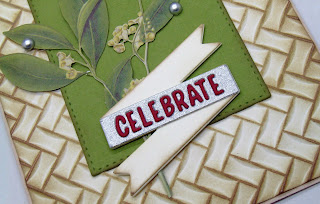
Here is a card that I made recently after our class on Altenew Stamps, Dies and Matching Stencils.
I do love these stamps, and they are so much quicker and easier to colour now that they have matching stencils.
This set also has coordinating dies which makes it even easier. I do like easy.
I layered the die cut and coloured floral images over a couple of plain stamped and embossed ones.
I used the stencil on a square of cream card and cleaned my brush though it to give a lovely subtle background.
Finishing touches, a few pearls and a die cut sentiment, stacked and covered in glossy accents.
Back to work tomorrow, so I had better get an early night.
Thanks for stopping by.
Crafty hugs
Kimx

Saturday, 5 March 2022

Thanks Auntie Weena

Evening,

I had to put all card making and quick thinking skills to work this afternoon, when Emma announced that she needed two birthday cards for the party that she was going to.............in 15minutes time!!!!

Thank goodness for a drawer full of Kanban and other assorted die cut goodies which Davina has given the kids over the years. 'Auntie Weena', as the kids loving refer to her, is often having a clear out of bits and pieces that she thinks the kids might like to craft with, and they certainly came in to their own today.

Stupidly, in my haste to put something together, I didn't take photos, but Emma was pleased so that is all that matters.

This card is probably the nearest I have to a quick and easy card from my picture stash.
An embossed background with a bit of ink,
a few die cut bits and pieces from my stash and some pearls. Definitely quick and easy.
The kids have another couple of parties to go to soon, so I think that we had better see if we can put a few cards together tomorrow so that we are ahead of the game.
Thanks for stopping by.
Hugs Kimx

Friday, 11 February 2022

Happy Birthday Rithika

Evening,

It's that time of year again where I have to make a card for Boss's youngest daughter. I do love the challenge of coming up with something different from last time, but still incorporating her name.

This year I actually had a request from Boss.........please make it bigger and add an 18th for her special birthday.
I have been playing with my 3D embossing folders and white ink in preparation for the class tomorrow, so I decided to use one of them in the background for a little bit of subtle sophistication.
I embossed the floral image on the left hand side of a blue square panel and gently wiped over it with a  white ink pad.
This highlights the detail of the folder in a very subtle manner.
I added some diecut and layered hearts along with her name, 18 and some pearls.
I ran the finished card past my eldest Granddaughter who said that as far as she was concerned it fitted the bill perfectly.....sophisticated but fun. Praise indeed from a 21 year old lol.
Boss seemed to like it so I hope that it was OK.
Better finish packing things up for class tomorrow before it gets too late.
Thanks for stopping by.
Hugs Kimx

Monday, 16 August 2021

Happy Wedding Day

 Hi All,

I recently had another wedding card commission. This time for a young couple who love nature and the sea.

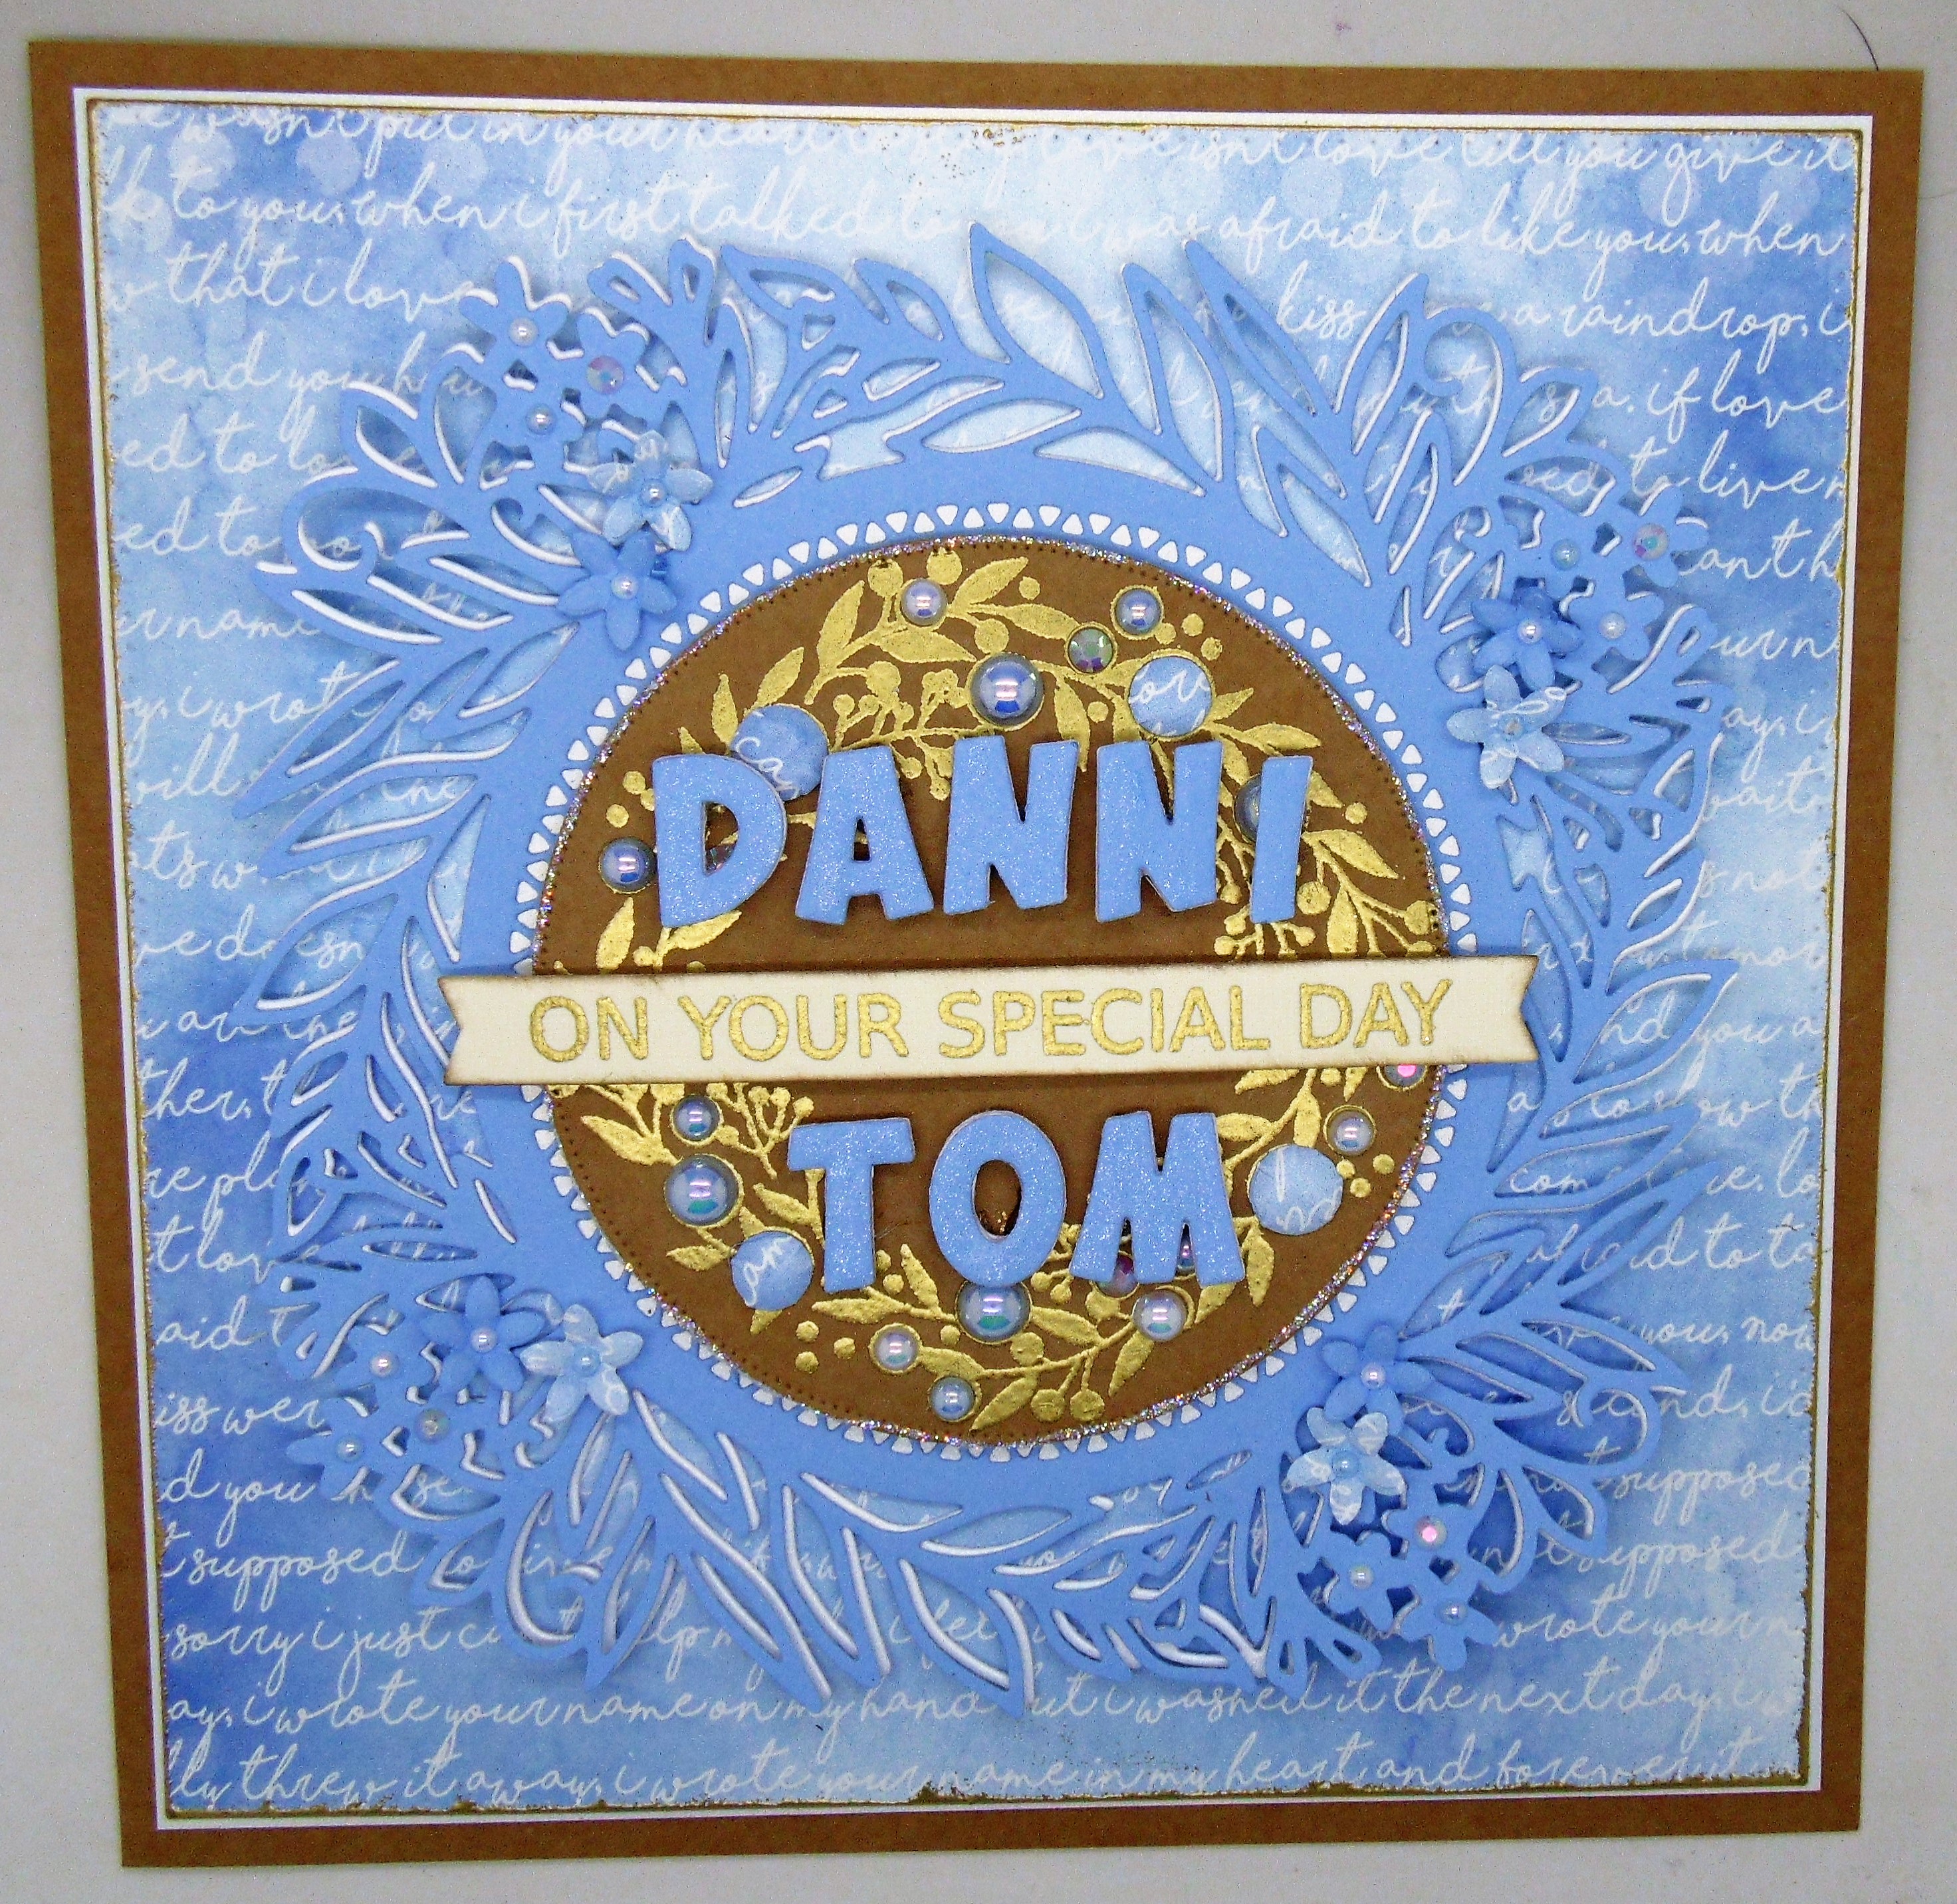
I used one of my large Tonic floral frame dies to create the focal point of the card, layered over a piece of background paper from my stash. By happy accident the wording on the paper also refers to the sea.
I cut the frame from pale blue and ivory card stock
and then slightly off set the images in the center of the card.
I used a tiny floral die to add some extra embellishments to the frame.
The center of the panel is a stamped and embossed frame designed by Jane Gill, to which I added some assorted pearls.
Of course any card is made more special with the addition of the recipients names.
As you know I never know quite what I'm going to end up with until I start to play, so as I had some left over bits and pieces to use up, I made another card for my stash.
Not quite as fancy,
and obviously not personalized, but I'm sure that it will find a home one day.
I've finally managed to get the last of my samples finished, for Jane's next release, so it's off to the Post Office for me tomorrow afternoon.
Thanks for stopping by.
Hugs Kimx


Friday, 31 July 2020

Happy Anniversary Sue and Charles

Evening Everyone,
Where on earth do all the years go to?
 I had a very special request for a card just recently.
Like a blast from the past, I was contacted by one of the children that I used to look after (25 odd years as a childminder) who asked me if I could make a card for her parents 30th Wedding Anniversary.
30 is pearl, so she wanted a card with a large 30 on it, and plenty of pearls.


I created an easel card, which always makes a statement and added plenty of pearl spray to some pale background paper, along with some die cut flowers.
I added their names using Altenew die cut letters and a Creative Expression sentiment.
Their anniversary is today, so I think that I should be safe enough to share this, especially as it is sooooo late in the day lol.
Thanks for stopping by.
Hugs Kimx

Tuesday, 12 May 2020

Smackdown Celebrations

Evening Everyone,
Just a super quick post tonight to share a couple of cards that I made last year at SirStampalot using the Smackdown Technique.
The background was created using the technique, distress oxide inks and a lovely Molly Blooms Dandelion stamp.
The colour palette was actually inspired by something that one of the ladies on the class made. I added a little blue ink to the flower centers and the card blank, along with a touch of glitter glue and pearls.
This card was made in exactly the same way only with a highlight of yellow this time.
The die cut sentiment is from my favourite, much used, set from Creative Expressions.
Stay safe.
Big Hugs
Kimx

Monday, 11 May 2020

Groovi Hearts

Evening Everyone,
I thought that I would share some Groovi with you tonight. It's not my usual thing but I do enjoy it, although I get very little time to work on it.
The Crafty Girls love it, so we try and fit in a class every 5-6 weeks. They are always very quiet classes as everyone is concentrating so hard. It's always like that with colouring classes as well, you could hear a pin drop lol.
I used a lovely floral heart Groovi plate and Clarity parchment. The design shows up beautifully on the coloured paper.
I created a border around each of the designs using the rectangular borders.
Parchment/vellum is notoriously difficult to attach. I have used a combination of glue hidden under part of the design, Pearl's or Brad's. I also have some sheets of tiny sticky dots which are also very good at sticking down vellum. It is easier to hide with the coloured vellum than it is translucent.
I also used the rectangular dies with the Picot edge to cut the white mattes. Sorry for the rather out of focus picture, I hadn't realized it was like this until it was too late. I will have to retake the photo...... when I remember.
The white work shows up rather nicely with this patterned  parchment.
Thanks for stopping by.
Stay safe and craft.
Hugs Kimx