Followers

Wednesday, 7 July 2021

Enjoy you Day my Lovely

Evening All,

Another wet and distinctly unsummery day. I must admit that the temperature is much more to my liking, although I could do with a little less water lol.

A few more cards tonight from Saturdays class on Distress Oxide inks.
Not only do they make fabulous backgrounds on watercolour and mixed media cardstock, but they also work on glossy for a whole different look.
I added the inks to the glossy cardstock in layers, drying each layer as I went.
They are lovely as they are, but take on a whole different look if you gently wipe away the chalky oxidization with a baby wipe or cloth. 
The colours are just so vibrant, I guess it is the dye ink property of the pad that gives that look.
I have used a variety of die cut foliage over these backgrounds since they were made using photo paper which is not very receptive to heat embossing.
The colours are just amazing.
The background to this card was made using the same technique only this time I used a different card stock 
which has given a much more muted look to the finished panel.
Still lovely though I think you will agree.
Thanks for stopping by.
Hugs Kimx

Tuesday, 6 July 2021

Statement Sentiments

Evening All,

As promised here are a couple of samples from Saturdays class.

I created the panel for this card whilst showing the ladies how to use the Distress Oxide inks and mixed media or watercolour card stock to make a 'Mop Up Background'.
I love all the fabulous colours and so I decided that it didn't need anything more than a large die cut sentiment.
I also added a stamped sentiment across the bottom of the panel.
I had trimmed a piece from the bottom of the previous panel to make the first card, so I decided to turn it in to a second smaller one.
Once again I used a large die cut sentiment, only this time I die cut it from the panel itself and added dimension by layering it on to craft foam.
I remembered to create a panel for each of my tags. The left hand one is using glossy card stock and the right, mixed media/watercolour card.
Although the ink has been blended on to the background of this card, I figured that it fitted in with the others having using a large statement die.
I also used a stencil and embossing machine to give some added dimension to the background, and then added a little gilding wax.
Thanks for stopping by.
Hugs Kimx


Monday, 5 July 2021

Happy, Sparkly Monday

Evening,

I hope that you have had a happy, sparkly Monday.

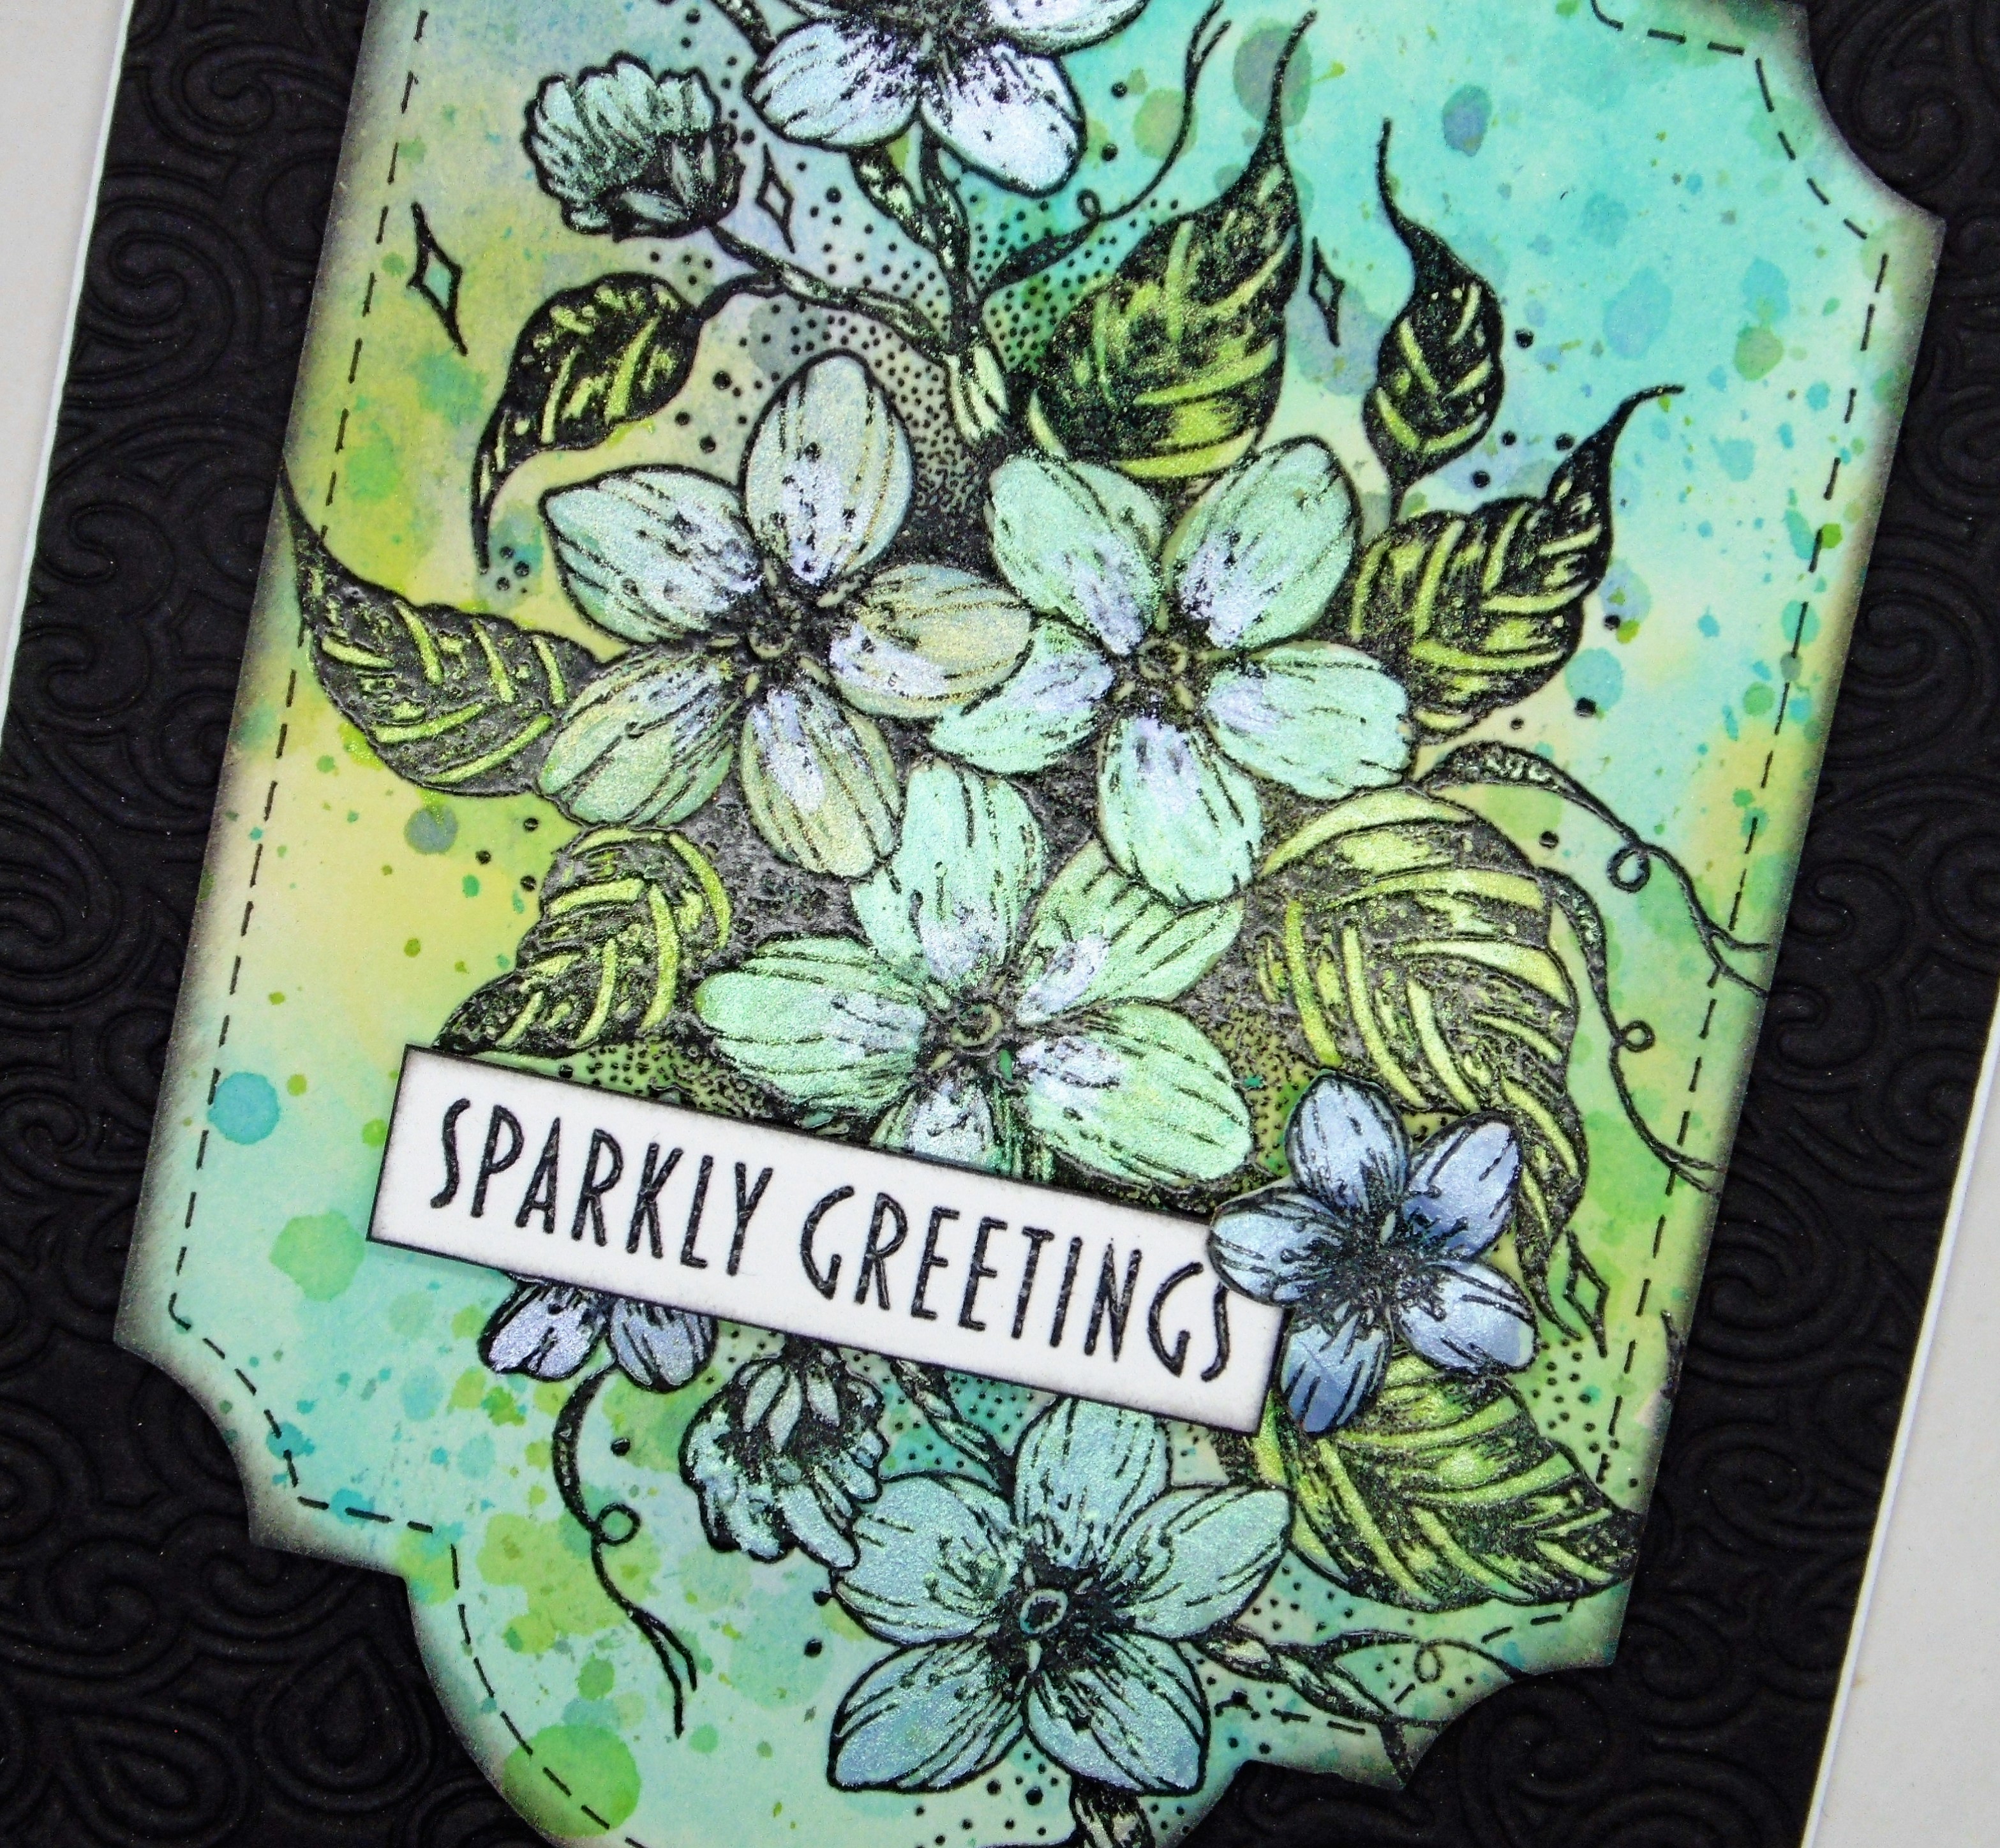
Here is a sparkly card to brighten up your week. 
I have used a piece of mop up background and a fabulous floral stamp from Designer Boutique which I coloured using a pearlescent watercolour palette.
I die cut the image and layered it over a piece of embossed card stock.
It's not looking very sparkly here at the moment, it's raining again, just by way of a change lol. I think that is my cue to get an early night.
Thanks for stopping by.
Hugs Kimx

Sunday, 4 July 2021

Red and Green Christmas Spotlights

Evening All,

We had a lovely time yesterday playing with Distress Oxide inks, and I have managed to get all the bits and pieces finished off today, so I will have [plenty to share with you over the next few days.

But before that, here are some cards that I made at a class at SirStampalot a couple of Christmases ago. 
The class was making Christmas cards using Oxide inks, so I decided to limit the palette to just reds and greens.
That is the beauty of these fabulous inks, provided you dry your ink at each step you can layer several colours on top of one another.
Normally using only red and green would result in mud, but I think these are fabulous.
I also decided to focus on Spotlight cards. 
They are a great way of getting two cards from the one stamped and inked panel. I love this fabulous stamp designed by Francoise for Woodware.
I just added a little glitter pen to the center of the poinsettia on this card.
Oh well, that's the end of another weekend. Early start tomorrow, so it's bed time for me I think.
Thanks for stopping by.
Hugs Kimx
 

Saturday, 3 July 2021

A Vintage Wedding

Evening All,

On occasion I get asked by friends to make a special card. This time it was for a Wedding that has finally taken place today, at least I hope that it has :O) 

I do love this type of challenge, armed with only a couple of requirements for my task. In this case dusky pink and vintage.
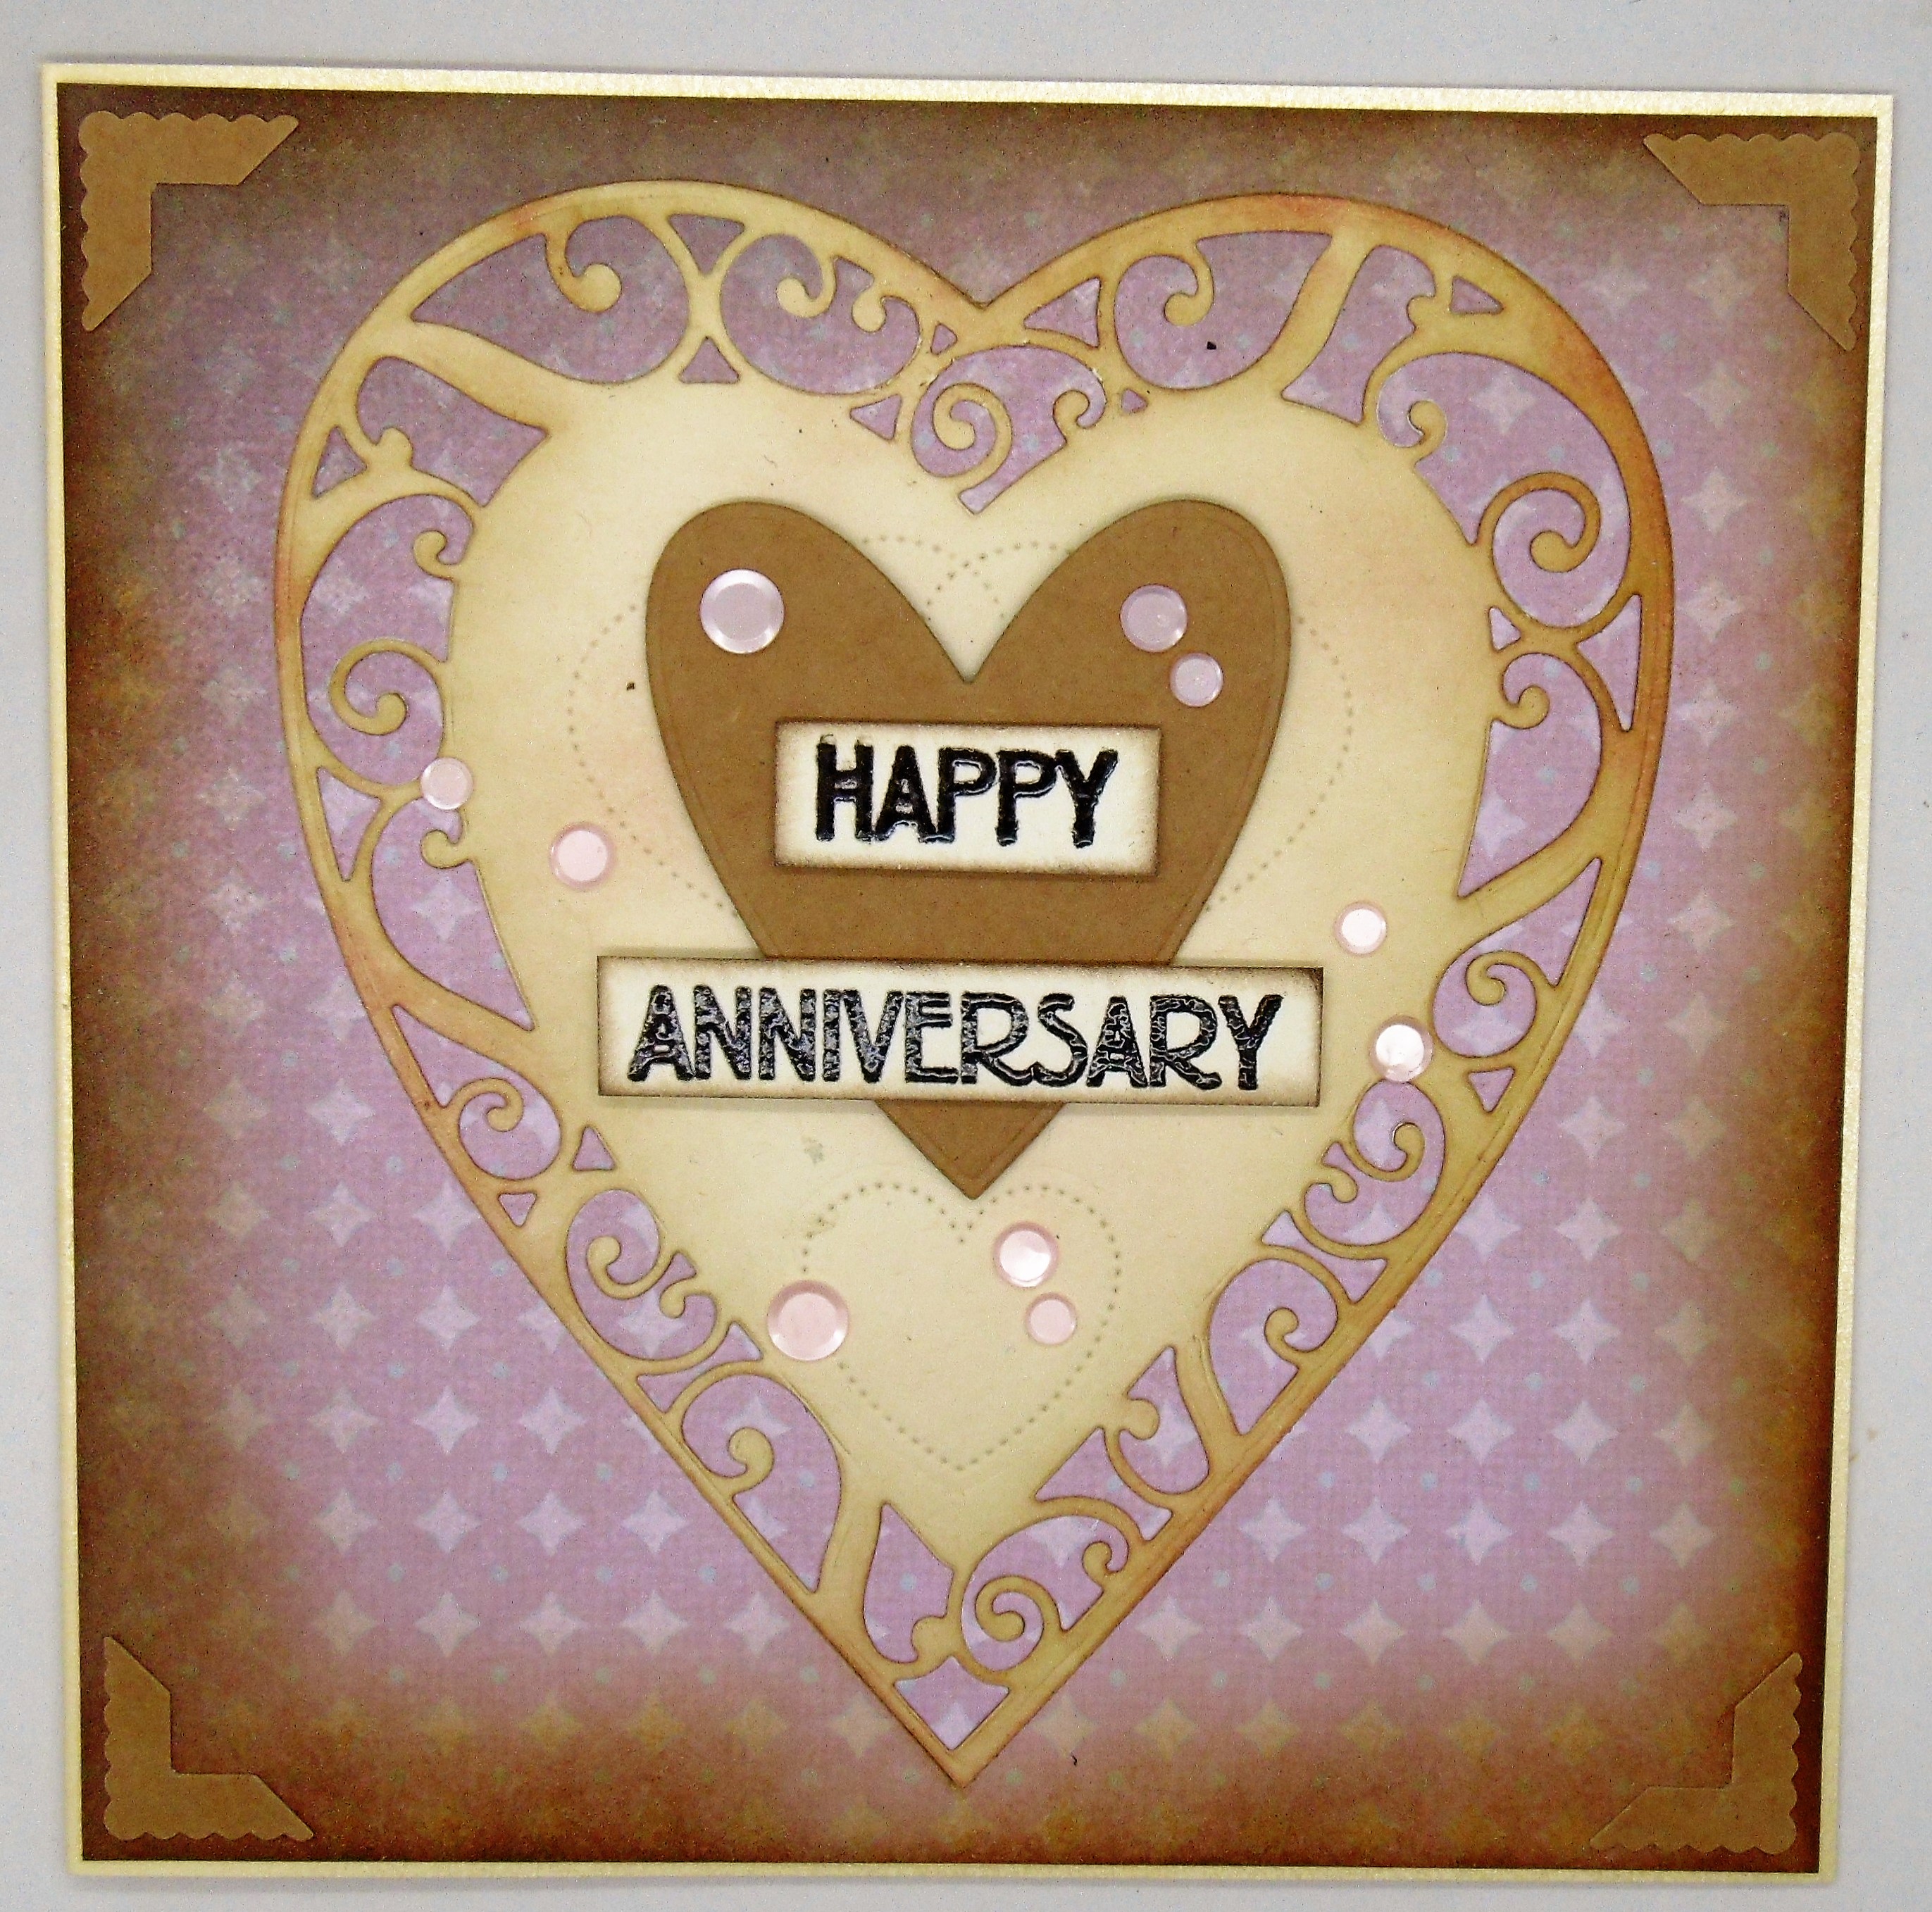
Once again I reached for my large Tonic heart dies and some paper from a 12x12 pad from 'The Works'.
I'm not usually a fan of cheap. It's often the case of 'Buy cheap, pay twice', but in this instance I will make an exception.
Their 12x12 papers are brilliant. Good quality, heavy weight, and very cheap, so I always look out for them whenever I am in 'The Works'. Even if I don't really need them lol.
I used the paper for the smaller internal heart,
and hand made flowers.
I created my own background paper for the base card using several dotty heart dies.
Of course there were several pieces left over after I had finally settled on my finished card, so I made an Anniversary card,
or two!!
Thanks for stopping by, I really do appreciate you.
Happy Crafting, and big hugs
Kimx


Friday, 2 July 2021

Distress Oxides and Glossy Paper.

Evening All,

I feel like I am wishing the year away, but I am so glad that it is Friday again. It feels like it has been a very long week!!

Tomorrow is play day, and I have finished my homework. In fact there are two tags for this class.
While catching up with a Tim Holtz video, I was reminded of using Oxide inks on Glossy cardstock.
That is what I have used for the background to this card. After applying your layers of ink to photo paper, you are left with a very chalky finish. The oxidization will wipe off on your fingers, so I placed a stencil over the panel and used Distress Micro glaze to remove some of it and leave a stenciled impression.

Note to self........Don't try heat embossing Photo Paper. As you can see it cracks, but it was too nice to throw out so I used die cut foliage to finish it off instead.

Similar idea for this card only I used non glossy cardstock, some stamping and more die cuts.
This is a very basic background piece but using the same layout. 

Time for bed. I am sooooo looking forward to meeting up with the Girls tomorrow. Plenty of crafty playtime, chat, and copious amounts of tea, coffee and biscuits. A perfect way to spend a Saturday.

Thanks for stopping by. 

Hugs Kimx
 

Thursday, 1 July 2021

Thinking of You with Stencils

Evening All,

Here are the last of my cards from the class on Stencils and Stamps.

Once again I used this fabulous stencil from Altenew, but this time I kept it monochrome.
I made them as Sympathy/Thinking of You cards,  
but the idea would work every bit as well for an Anniversary or Birthday.
Same technique, but a different floral stencil, once again worked in monochrome colours.
I added a few gems to both cards,
along with a stamped and embossed sentiment.
These last two cards feature a couple of circular Clarity floral stencils. 
They are only small, but a card doesn't always have to be huge. They are sent with love and best wishes what ever their size.
Better get my tag written for class on Saturday or I'll get a ticking off :O)
Several years ago I started a tag book for the Girls, inspired by a class that I had done at SirStampalot a few months previous. The idea of it is to create a tag to go with each class to remind the Girls of what they have done so that they can more easily recreate it later. Each tag is supplied with instructions on the technique that they have played with, and a piece of appropriate cardstock for them to create a visual prompt. I supply the tag and instructions, they supply the artwork lol.
I tried very hard to supply tag instructions for each of the classes pre lockdown, but time just got away from me sometimes, so I am determined not to fall into the same trap now that classes have started up again.
Thanks for stopping by, I hope that you liked what you saw.
Happy Crafting and Hugs
Kimx