Followers

Showing posts with label border punch. Show all posts

Tuesday, 8 December 2020

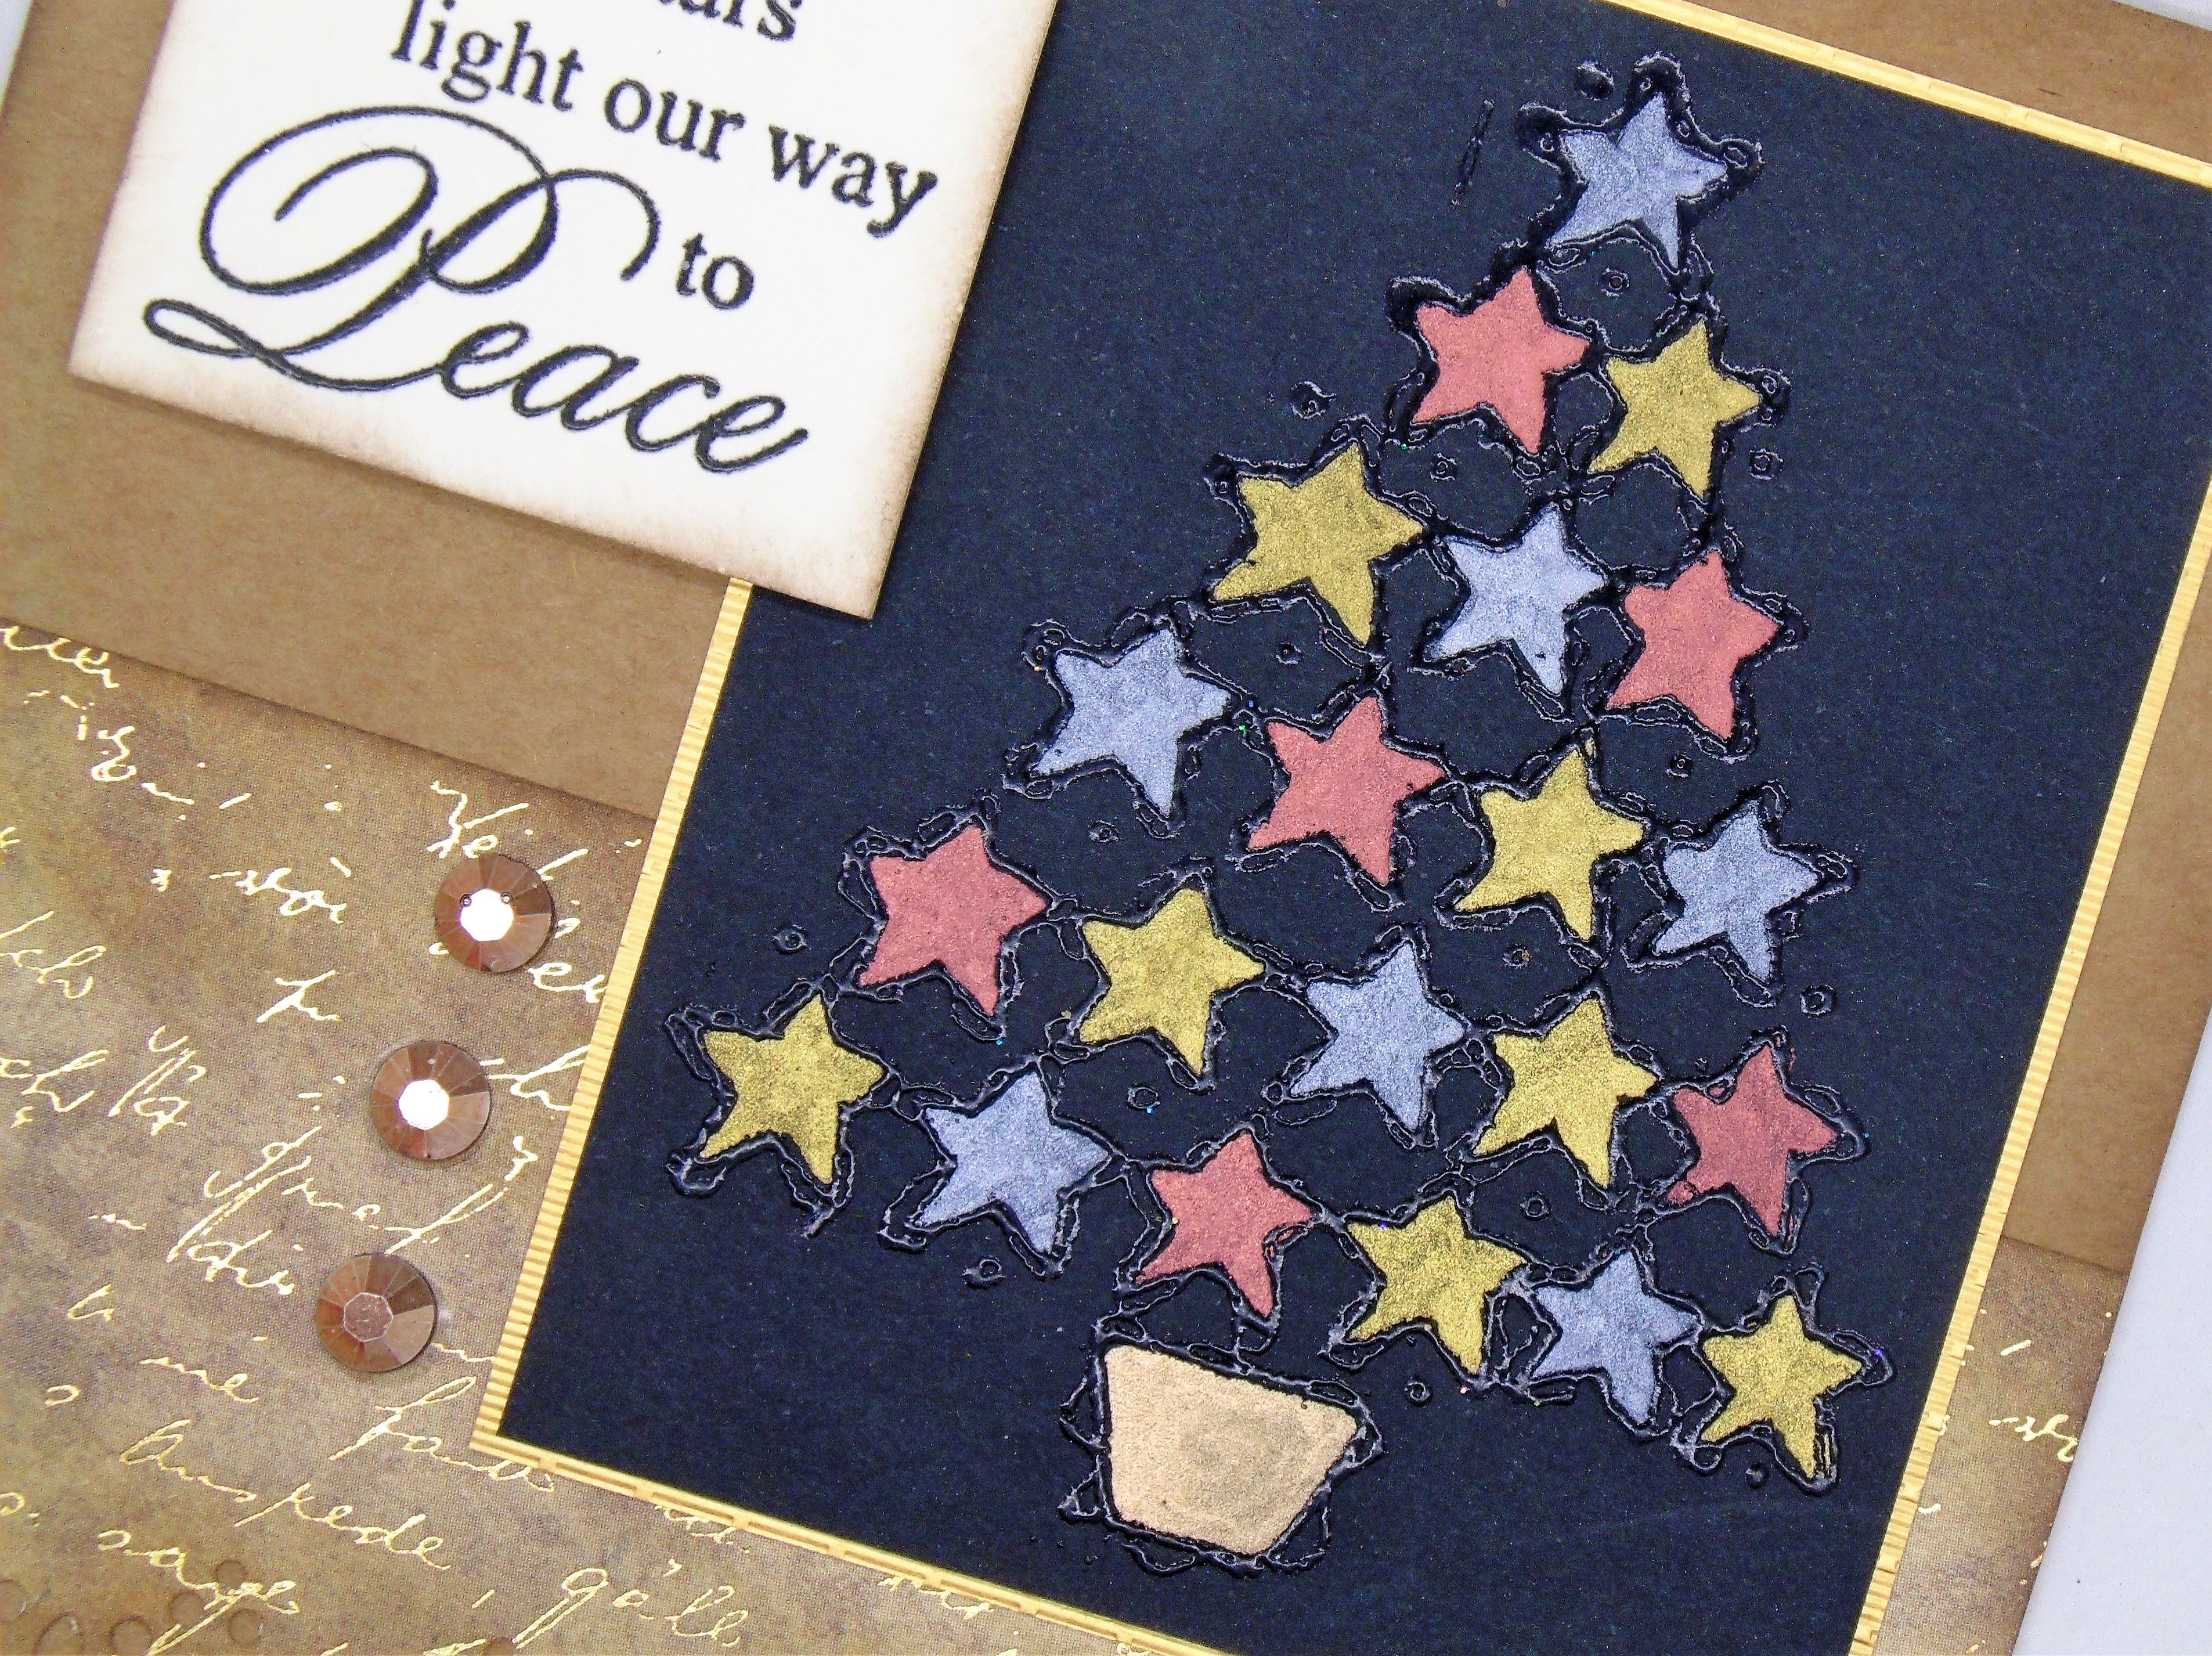
A Starry Christmas Tree

 Afternoon,

I don't know about you, but I really must start writing my Christmas cards, so here is one that will be winging it's way to someone just as soon as I can get my arse in gear.

We had a lovely Quick and Easy Christmas card class at the beginning of this year where I encouraged 'The Girls' to bring along their Christmas bits boxes.
We always tried to have a Christmas based class every couple of months to get a heads up on the end of the year, and it's also a good way of using up those bits and pieces that remain unfinished over the years.
This card was made with at least one such piece from my box. I hate to think how many years ago this tree was stamped embossed and coloured using a metallic pearlex palette.
I also found a punched strip of background paper and a stamped and embossed sentiment which fitted with the tree perfectly.
Off to finish my Christmas newsletter, which is at least a step in the right direction.
Have a great afternoon, and thanks for stopping by again.
Stay safe and hugs
Kimx

Monday, 16 March 2020

Anniversary Wishes with love

Evening All
Just a quick post tonight, before my laptop locks me out. Oh to get my charger back so that I can use a more up to date computer lol.
Thankfully I found a few draft posts in blogger, so I hope that I haven't shared these cards with you before.
My apologies if I have.
They were made a long time ago using an embossing folder and the letterpress technique.
There was a bit of extra stamping on this one, and a lacy border created with a Martha Stewart punch.
All very different, but similar, if you know what I mean.
Been for a walk to the physio today so I can see a lie down, ice pack and foot elevation in my very near future. Apparently I have also aggravated my hip as well now. Oh Joy!!
Have a great evening.
Hugs Kimx

Saturday, 24 August 2013

A Fishing Trip

Evening All
Well where on earth did all of that rain come from? I don't know what it has been like in your neck of the woods but here it has been absolutely chucking it down!!
Typical Bank Holiday weather I suppose, but with the kids away for the weekend camping it could have waited until next week to be so miserable couldn't it?
This is another of the cards that I have made for one of the numerous male birthdays that there are this month.
The central image and sentiment are from Lili of the Valley and I added a punched border strip and some ribbon
as well as some punched leaves and a fish charm.
The background papers are from my stash but are all from Basic Grey 6 x 6 paper pads.
I'm sure that the family will be having a good time what ever the weather, who knows they might have even got in a little fishing as well.
Hugs Kimx

Sunday, 8 April 2012

Woodware Sketch Challenge for April

Afternoon Everyone.
I trust that you are all having a good weekend, and that you have left enough room for dinner after all the chocolate.
I may not be the guest designer over at the Woodware challenge anymore but I still like to enter.
One thing about being guest was that I had to get my card done ready to post on the Sunday, so this is technically a week late :)
This week the challenge has been to work your magic with their new sketch.
I decided to use a lovely new clear stamp set JG5267 Grasses that I bought at Davina's.
I stamped and embossed it onto a narrow strip of white card using versamark ink and white embossing powder. Then I sponged Distress inks over the top using a combination of Scattered Straw, Mustard Seed and Wild Honey.
At work this week we have been selling some beautiful Spring bouquets which are filled with yellow and purple flowers and so I decided to use the same colours on my card.
I added some stitching to the sponged panels and a stamped greeting from another Woodware clear stamp set JGCL508 Jane's Script which was stamped with a black StazOn ink pad.
I am also trying to continue my vellum theme as per my challenge over at The Stamp Man, so I have added a strip of punched vellum across the centre of the card.
The flowers are punched from vellum using assorted Woodware flower punches.
Oh crumbs I've just noticed the date.
I need to get a card made for my Sin-in-Laws birthday tomorrow. Back to the Craft Room. Good job I did my post early as I can see a late night in my future lol.
Happy Crafting.
hugs Kimx


Wednesday, 29 February 2012

Flutterby Spring Butterflies

Evening Everyone,
It has been wonderfully mild in my neck of the woods today, even if it hasn't been particularly sunny and so it has started to put me in mind of Spring which is hopefully just around the corner.
How very appropriate then that when I got home from work today my copy of Craft Stamper should be waiting for me.
Everything has to be made so far in advance with the magazine deadlines that it can be very difficult to get in the mood for spring when it is actually Christmas lol.
The card on page 37 in the Butterflies Gallery is the one that I made for the lovely Janice and Andy at Sirstampalot using Magenta Butterflies CSET29.
I used distress inks to watercolour the images from the stamp set  and then layered them onto various background papers from the amazing range that Janice and Andy stock.
A punched border, some ribbon and pearls, and of course some hand drawn stitching. The greeting is from the Hobby Art Sentiments clear stamp set.
The Magenta set also contains a small butterfly so I added a couple of them, which I cut out and attached using silicon.
I am really pleased with how it looks in the magazine, I hope you like it.
Happy Crafting.
hugs Kimx

Thursday, 12 January 2012

Woodware challenge but without the stamps!!!!

OK you know how things can disappear in to the black hole that is your craft table (well if it's anything like mine that is). You've used a stamp, a clear one no less, and then when the card is finished you can't find the stamp anywhere.
Well that is exactly what happened to me when I made my card for the last Woodware challenge. The lovely little mouse from my set disappeared into thin air. I checked everything, even the bins bit by bit yuk.
I had resigned myself to never being able to use the little mouse again sob sob.
Then I went to prep for my class on Saturday at Davina's (Stampcraft in Purley) and there sitting on the top of an ink pad was a little mouse yeahhhhh.
We are using this lovely Poppy stamp from Hobby Art on Saturday, but I have made the card using the Woodware Challenge sketch in the hopes that they will be inspired to make something similar but using a Woodware stamp. I will have some of those with me as well :)
The red strip of paper has been made using the Stylus tool which is something that I will be teaching them on Saturday. I love it for making background papers.
I coloured the image with dye based inks on watercolour card.
I also added some metallic swirls and a punched border.
I have been trying to leave comments tonight but am having no luck at all. I don't know what is going on with blogger. I do wish they would stop playing around with it. What is it they say - If it ain't broke don't fix it lol.
Sorry guys I will try again tomorrow, but this is just to let you all know that I really do appreciate you taking the time to leave me messages.
I must get an early night. My lovely daughter seems to have passed me her cold and I am starting to feel all bunged up. Lemsip and bed me thinks.
Have to be well for Saturday it looks like we have a full house which is brilliant.
Hugs Kimx

Saturday, 10 December 2011

A couple of Cuties - Part 2

Evening Everyone.
Here I am, back as promised, with another cute card.
It was made for Jason's niece on the birth of her second son a few weeks ago.
I have used a Tilda stamp Alvin Sitting which is definitely a favourite of mine when it comes to a new baby card for a little boy.
Once again I have used the 'Outside the Box with a Nestie' technique (see previous post for a link) and coloured him with distress inks.
The word background is from a clear stamp set (I think it is by Hero Arts) that I have stamped twice onto some background paper from my stash.
I have added a punched strip, some gingham ribbon, a few gems and 3 tiny buttons. I also spritzed the card with Glimmer Mist although it is hard to see in the picture.
The main background panel is also cut from background paper using one of my grand nesties and I have added some stitching with a fine black pen. The embellishments in the corners are actually buttons. I cut away the backs and attached them using silicon. 
We had a lovely class at Davina's where the ladies made some beautiful Easel cards.
We have decided that at least for the winter both classes each month will move to Saturday. It will be so nice not to have to go out on a Wednesday evening. As much as I enjoy teaching it is no fun going out at night when you have to scrap the ice off the car.
Off to bed now, it will be non stop card writing tomorrow.
Nite, nite
Hugs Kimx

Tuesday, 6 December 2011

A Special Card........

Evening Everyone
I've been trying to get this card on the blog for days, but I have so many things to share at the moment that it seems to have got pushed further and further down the pile.
This is actually the card that we will be making in class on Saturday, 'A special card for a special Someone.'
I have made this card using Christmassy colours and poinsettias, but I felt that it could just as easily be made as a Birthday or Anniversary card just by changing the colours and the dye cut flowers. So it will be down to the ladies to choose. That will probably be the bit that takes the longest lol.
The greetings are both from clear sets made by Hobby Art, and have been given my trademark padded touch using silicon.
Nothing says special like an Easel card, in my opinion.
The background papers are from my stash, and I have cut the flowers and borders using a combination of punches and dies.
You will be pleased to know that it might need a padded envelope, but I think we can get away without making a box :)
I'm looking forward to class already, perhaps you will join me.
Hugs
Kimx

Saturday, 24 September 2011

The Battle of the Bums

Evening Everyone
Today was my penultimate day of classes at Lavender Lane.
It was lovely to see so many of the ladies that have attended there over the years.
Jane and June had set out the tables as best they could given that we had no idea of how many people were going to turn up.
We had made a pledge that we would try and fit in everyone that wanted to play, but as you can see it ended up as a bit of a tight squeeze and a 'Battle of the Bums'.
Fortunately everyone was very good humoured, and grown up about having to share equipment and having to queue at the embossing stations.
We had 11 ladies in the morning and 15 in the afternoon!!!!
There were very few finished cards but everyone seemed to enjoy painting with Pearlex, a spot of brayering, and Percy the Penguin.
I had decided to do 2 different Christmas classes featuring Hobby Art stamps, and Jenny very kindly lent me some extra stamp sets to use and samples to share so there were lots of ideas for everyone to see.
One of the stamps that we used was from the Butterfly Kisses Cottage Hill set.
I made this sample using Walnut Stain distress ink, and although not a Christmas card it highlights the Watercolour technique which I shared with the class.
I stamped the Cottages onto watercolour card using the distress ink pad and then used a waterbrush to 'pull' the colour from the image.
Stamp it in blue, add a bit of glitter and hey presto it's Christmas lol.
We will be meeting for one last time in October when we will be doing more Hobby Art Christmas classes.
By then there will be nothing left in the shop but the tables, and hopefully the kettle, so it should be much easier for everyone to manoeuvre.
Love and hugs
Kimx

Monday, 12 September 2011

Back to School.

Evening Everyone
Perhaps I should go back to school, I could certainly do with some lessons on a laptop.
I spent the weekend trying to get on line so that I could post some cards, cursing the fact that I had no signal, only to find that I had some how switched off my wifi connection. I didn't even know you could do that so how dumb am I lol.
Last week was a rather hectic one all round with most of the kids going back to school, and trying to get back to some sort of normality.
Megan, my eldest Grandchild has started Secondary School (where did those 11 years go to!!!)
We had all the usual first day tears and trauma's, although I think she is settling to it all quite nicely now.
Even more scary is the fact that the twins started school today!!!!
This was taken on Sunday when they had a last minute try out of their uniform, don't they look grown up?
I was a very bad Mam-ma and didn't get a card made for Megan but I did manage to make one for Saskia and Ciaran.
Once again I used the lovely Lilli of the Valley Back to School kids coloured with distress inks. The background papers are from my stash and the border punch is an EK Success one.
Saskia is standing on top of a pile of books under the Good Luck greeting (Both are Magnolia stamps available from Sir Stampalot).
And Ciaran is standing on the desk next to an apple for teacher (also by Magnolia). I only hope that neither of them behave in this manner when they are at school.
I am entering this in to the challenge over at Cupcake Craft where it is Back to School.
Of course I can't play favourites so here is Megan in her new school uniform.
And I can't leave Reece out now can I.
Better get back to my homework or I might be in for a detention tomorrow.
Nite nite.
Love and hugs
Kimx
PS Don't forget to watch Jenny on Create and Craft tomorrow with some fab new stamp sets.

Wednesday, 17 August 2011

Woodware Challenge - Take 2 colours

Evening Everyone
Hope that you are well.
You know how some techniques get you hooked on them for a while. Well at the moment, for me, that seems to be painting with coffee.
I think I must be going through a bit of a Sepia phase, and the coffee compliments the colour so well. In fact I'm teaching a class on it this evening at Davina's.
The challenge over at Woodware this week is Take 2 colours and so I think my card fits that quite well being brown and pink.
I have used a lovely Woodware stamp set FRCL159 Flower Doodles which I have stamped and embossed onto a piece of card that has first been spritzed with coffee. I have then painted the flowers themselves with the same coffee. I have added some gingham background paper and a punched border as well as a couple of hand made flowers.
This second card uses the same painting technique only this time the background has been made with a soggy wet teabag.
 My grandson Ciaran made me laugh when we noticed that his hair was the same colour as the piece of art work that I was working on. Of course we had to take a picture of it lol.
Off to teach now, my lift awaits.
Have a good evening.
Love
Kimx

Sunday, 14 August 2011

Can you 'Resist' a padded Christmas!

Evening Everyone,
I hope you have all had a wonderful Saturday. I spent a very pleasant day with lots of lovely 'Crafty Ladies' at Lavender Lane.
Today was to have been our last Saturday of classes since sadly the shop is closing down, but we decided to arrange a further two dates for September and October which were fully booked by the end of the day. How cool is that.
Don't panic Mrs Till we saved you a space :)
I felt that we really ought to make at least one Christmas card in class this year, and so decided that padded cards gave us the ideal opportunity to do just that.
How to make a padded card is very easy to teach, but you need a finished card to stick the padded element on to using silicon. With this in mind I decided to throw in a bit of resist.
The background panel has been created using stamps from one of the Hobby Art clear Christmas stamp sets. I have stamped the Holly randomly onto glossy card stock using Versamark ink and then sponged ink from a Big and Juicy ink pad all over it,
It is like Magic Painting for grown ups as the images 'pop through' the ink. I have coloured the holly on the padded element using the same ink pad so the colours match perfectly.
This second card I confess I actually finished when I got home this evening using some of the bits and pieces left over from the class. I'm really pleased with how it turned out, if I do say so myself. I can see a few more of these in the pipeline as they are very quick and easy to make.
I'm sorry that the photos aren't very good but it got dark too quickly and I had to take them inside on my table. Not the best of backgrounds but better than nothing I suppose.
Having tidied up I spent the rest of the evening working on a little project for the Woodware challenge.
Dorothy very kindly sent me some of the folders, and I promised her that I would do my best to enter. I did warn her that it would be nearer the end of the week and so I will just about get in under the wire. As what I have made needs to be photographed in better lighting it will have to wait until tomorrow - so watch this space as they say lol.
Good heavens look at the time, we are into Sunday already.
Thanks for stopping by, do pop back later.
Love and hugs
Kimx

By the way don't forget that Jenny from Hobby Art will be on Create and Craft channel 671 at 5pm and 7pm Sunday 14th August and again at 9am and 2pm on Monday 15th August - check it out for some lovely Christmas stamp sets. Some of my card samples will be on display.

Tuesday, 12 July 2011

A brayered background

Evening
Wow, isn't the first day back after a holiday hard. I always seem to have to play catch up on all those things that apparently only I can do lol.
One of the main reasons for my few days away was to spend last Saturday teaching a lovely group of ladies who call themselves the Camstampers. They meet once a month in Offord D'Arcy and I was invited to join them by Ellen who I first met at Sirstampalot some time ago.
They provided me with numerous cups of coffee and a lovely lunch and I in turn taught them three separate techniques.
One of the things that they had specifically asked that I cover was brayering. Barbara Grey I am not. As you can see I have not yet perfected the 'flick' and therefore get lines in my backgrounds.
The main brayered panel has been created using a big and juicy ink pad and screwed up copy paper. I have then stamped and embossed Hobby Art Just for You and Hero Arts Leaf Cluster across the panel in black.
By cutting the panel into three before mounting it onto co-ordinating background papers I have helped to disguise the lines, I hope :)
As Julie Hickey always taught me ' It's never a mistake, it's always an opportunity!'
I have also used a Martha Stewart border punch and a Magnolia DooHickey to embellish the panels.
Well I was pleased with it, and the ladies seemed to enjoy themselves so that really is all that counts.
Off to bed now. Nite nite
Love and hugs
Kimx