Followers

Showing posts with label Hobby Art. Show all posts

Tuesday, 15 June 2021

Checkered Borders

Evening All,

I've got a few cards tonight, each with a hand drawn checkered border of frame added to them.

I added some extra doodling to the flowers on this panel along with a border to the main embossed background.
I added a frame to this Hobby Art floral stamp and then matched it to the backing paper.
Same Hobby Art stamp, different sized frame and a fussy cut flower.
I created a frame around the balloons on this card and also a sentiment border to the main card.
Once again the same Woodware balloon stamp with checkered border. 
Another Woodware stamp with an added border. It is amazing how you can change the look of any stamp just by adding a border to it. Why not give it a try.

Thanks for stopping by.

Hugs Kimx

Thursday, 4 March 2021

Bleach

Evening All,

Well it looks like blink and you missed the sunny weather. We are definitely back to cold and dreary, here at least. Still at least it's not snowing...........yet.
Todays cards, and there are lots of them, have been created using one of my all time favourite techniques, and it's so cheap and easy too. Good old fashioned BLEACH.

I do find that cheap thin bleach works best for this.

You need a stamped and embossed image to colour in. The heat embossing acts as a natural resist and allows the bleach to stay within the lines, unless you add too much that is.
Any image that you can colour works for this technique so I have chosen some lovely floral images with nice open flowers, just right for colouring.
You do have to be choosy with cardstock since not all card will bleach, so it's like doing your patch test for hair dye. Apply a little bleach to the corner of the card and see if it changes colour. Applying heat can often help and you are sometimes rewarded with some surprising results. I have blue card that bleaches out to a beautiful pink.
Another way of using bleach is to stamp with it as in the background of this card.
You need to create a stamp pad using several layers of kitchen paper or a piece of Cut'n Dry felt.
Add bleach to the pad and use it with your stamps like you would any ink pad.
You can use any of your stamps, but the one thing I can't stress enough is that you MUST clean your stamps after using them with bleach.
I've got stamps that are still perfectly OK even after 20 years because I cleaned them straight after using them with bleach. Normally, as any of my crafty pals will tell you, I vary rarely clean my stamps. If it's good enough for Tim Holtz then it's good enough for me.
Bleach is useful for removing the colour from dark cardstock so that you can then paint the image with colours that will show up.
Bleach will even work with alcohol inked backgrounds although I found that I usually had to heat it and for some reason it usually turns green.
I'm sorry for the rather picture heavy post, but as you can see I do rather like this technique.
Thanks for stopping by.
Stay safe and hugs
Kimx

Saturday, 30 January 2021

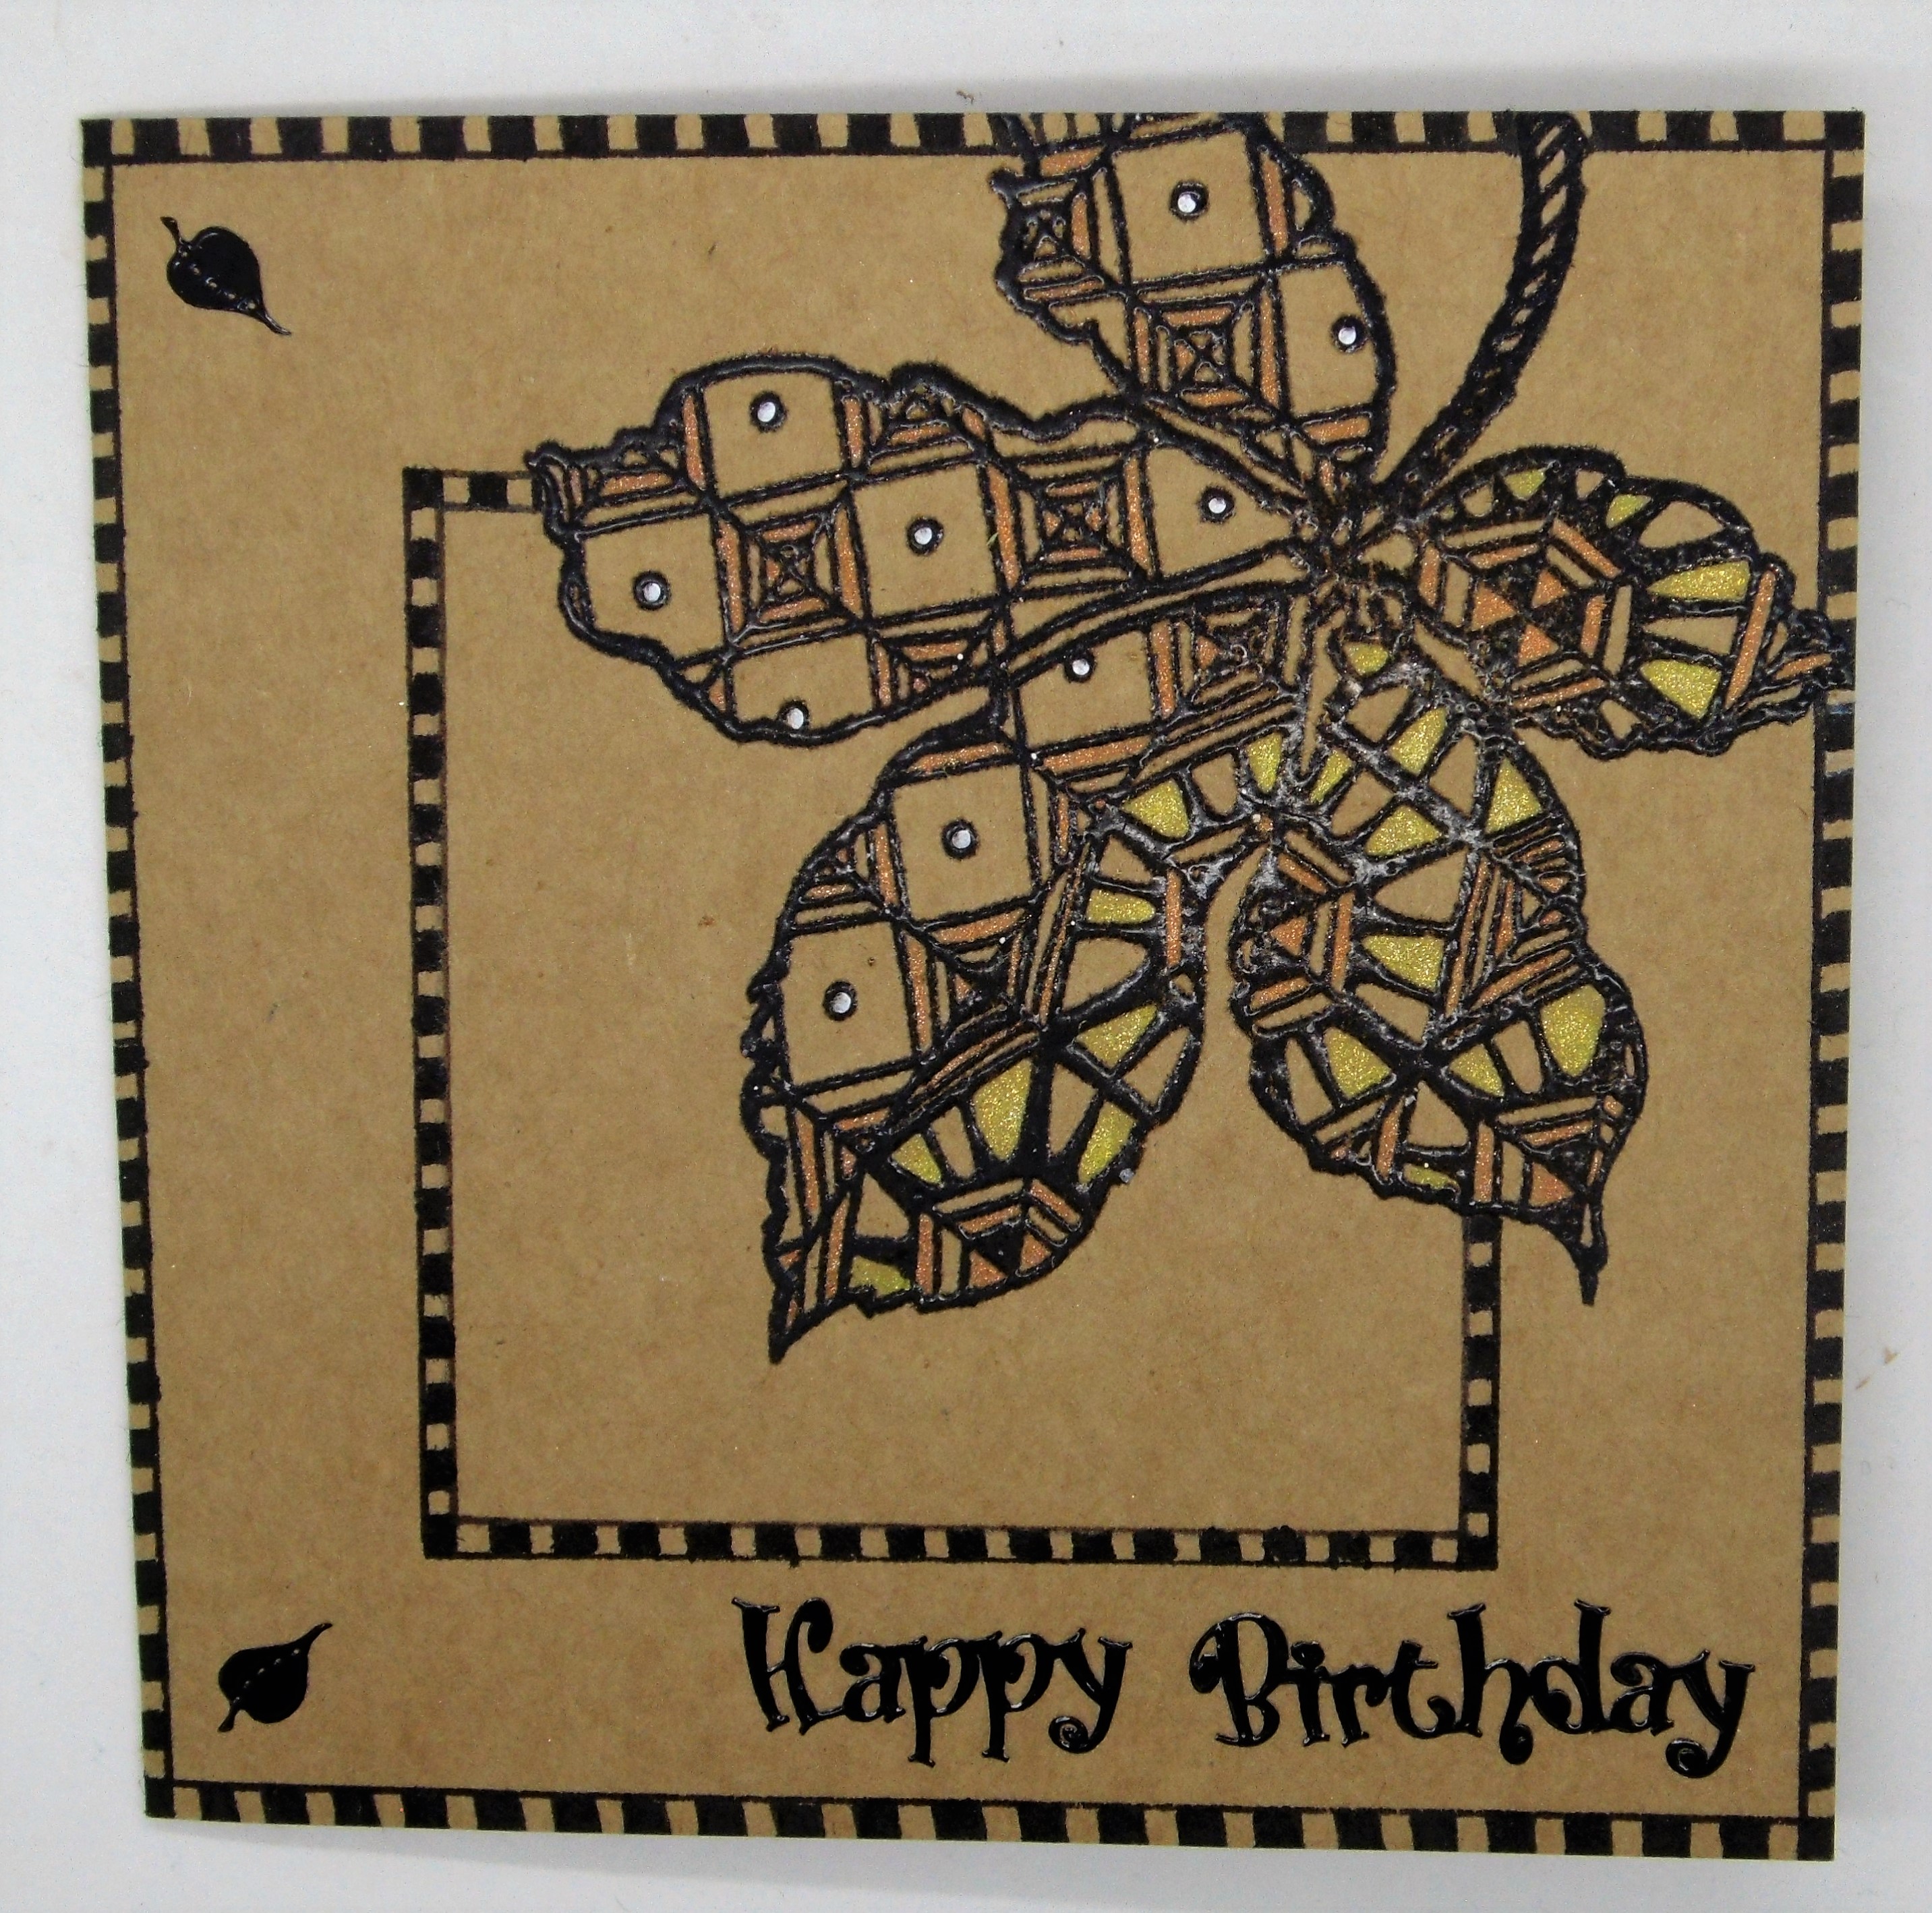
Very Basic Zendoodle

 Evening All,

I hope that you have had a good weekend, I have had great fun making up a crafty package for each of the ladies that usually come to my classes. They are all missing our get togethers, so I decided to put a couple of bits together for them as a kind of homework package that we can then share on a zoom session in a couple of weeks time. Of course my homework is to come up with some samples to share with them, so that's my Sunday sorted lol.

I do love doodling, or at least I love what other people come up with when they doodle. I'm afraid that my efforts are very much more basic.
I do like adding a border, as you can see in these cards, 
but that is just about as adventurous as I get I'm afraid.
Of course all the hard work is done for you with this fabulous leaf stamp from Stampendous. And then there are those borders again, easy to do but they add something I think.
And just before you think that I can drawer anything other than borders, all of the images are stamped and embossed!!

Thanks for stopping by.
Hugs Kimx

Monday, 25 January 2021

Jean's Flowers

Evening Everyone,

I hope that you have had a productive day. I chickened out of a walk this afternoon in favour of some crafty playtime. A no brainer really......walk in the cold and maybe slip over or sit in the warm and play!!!

1/
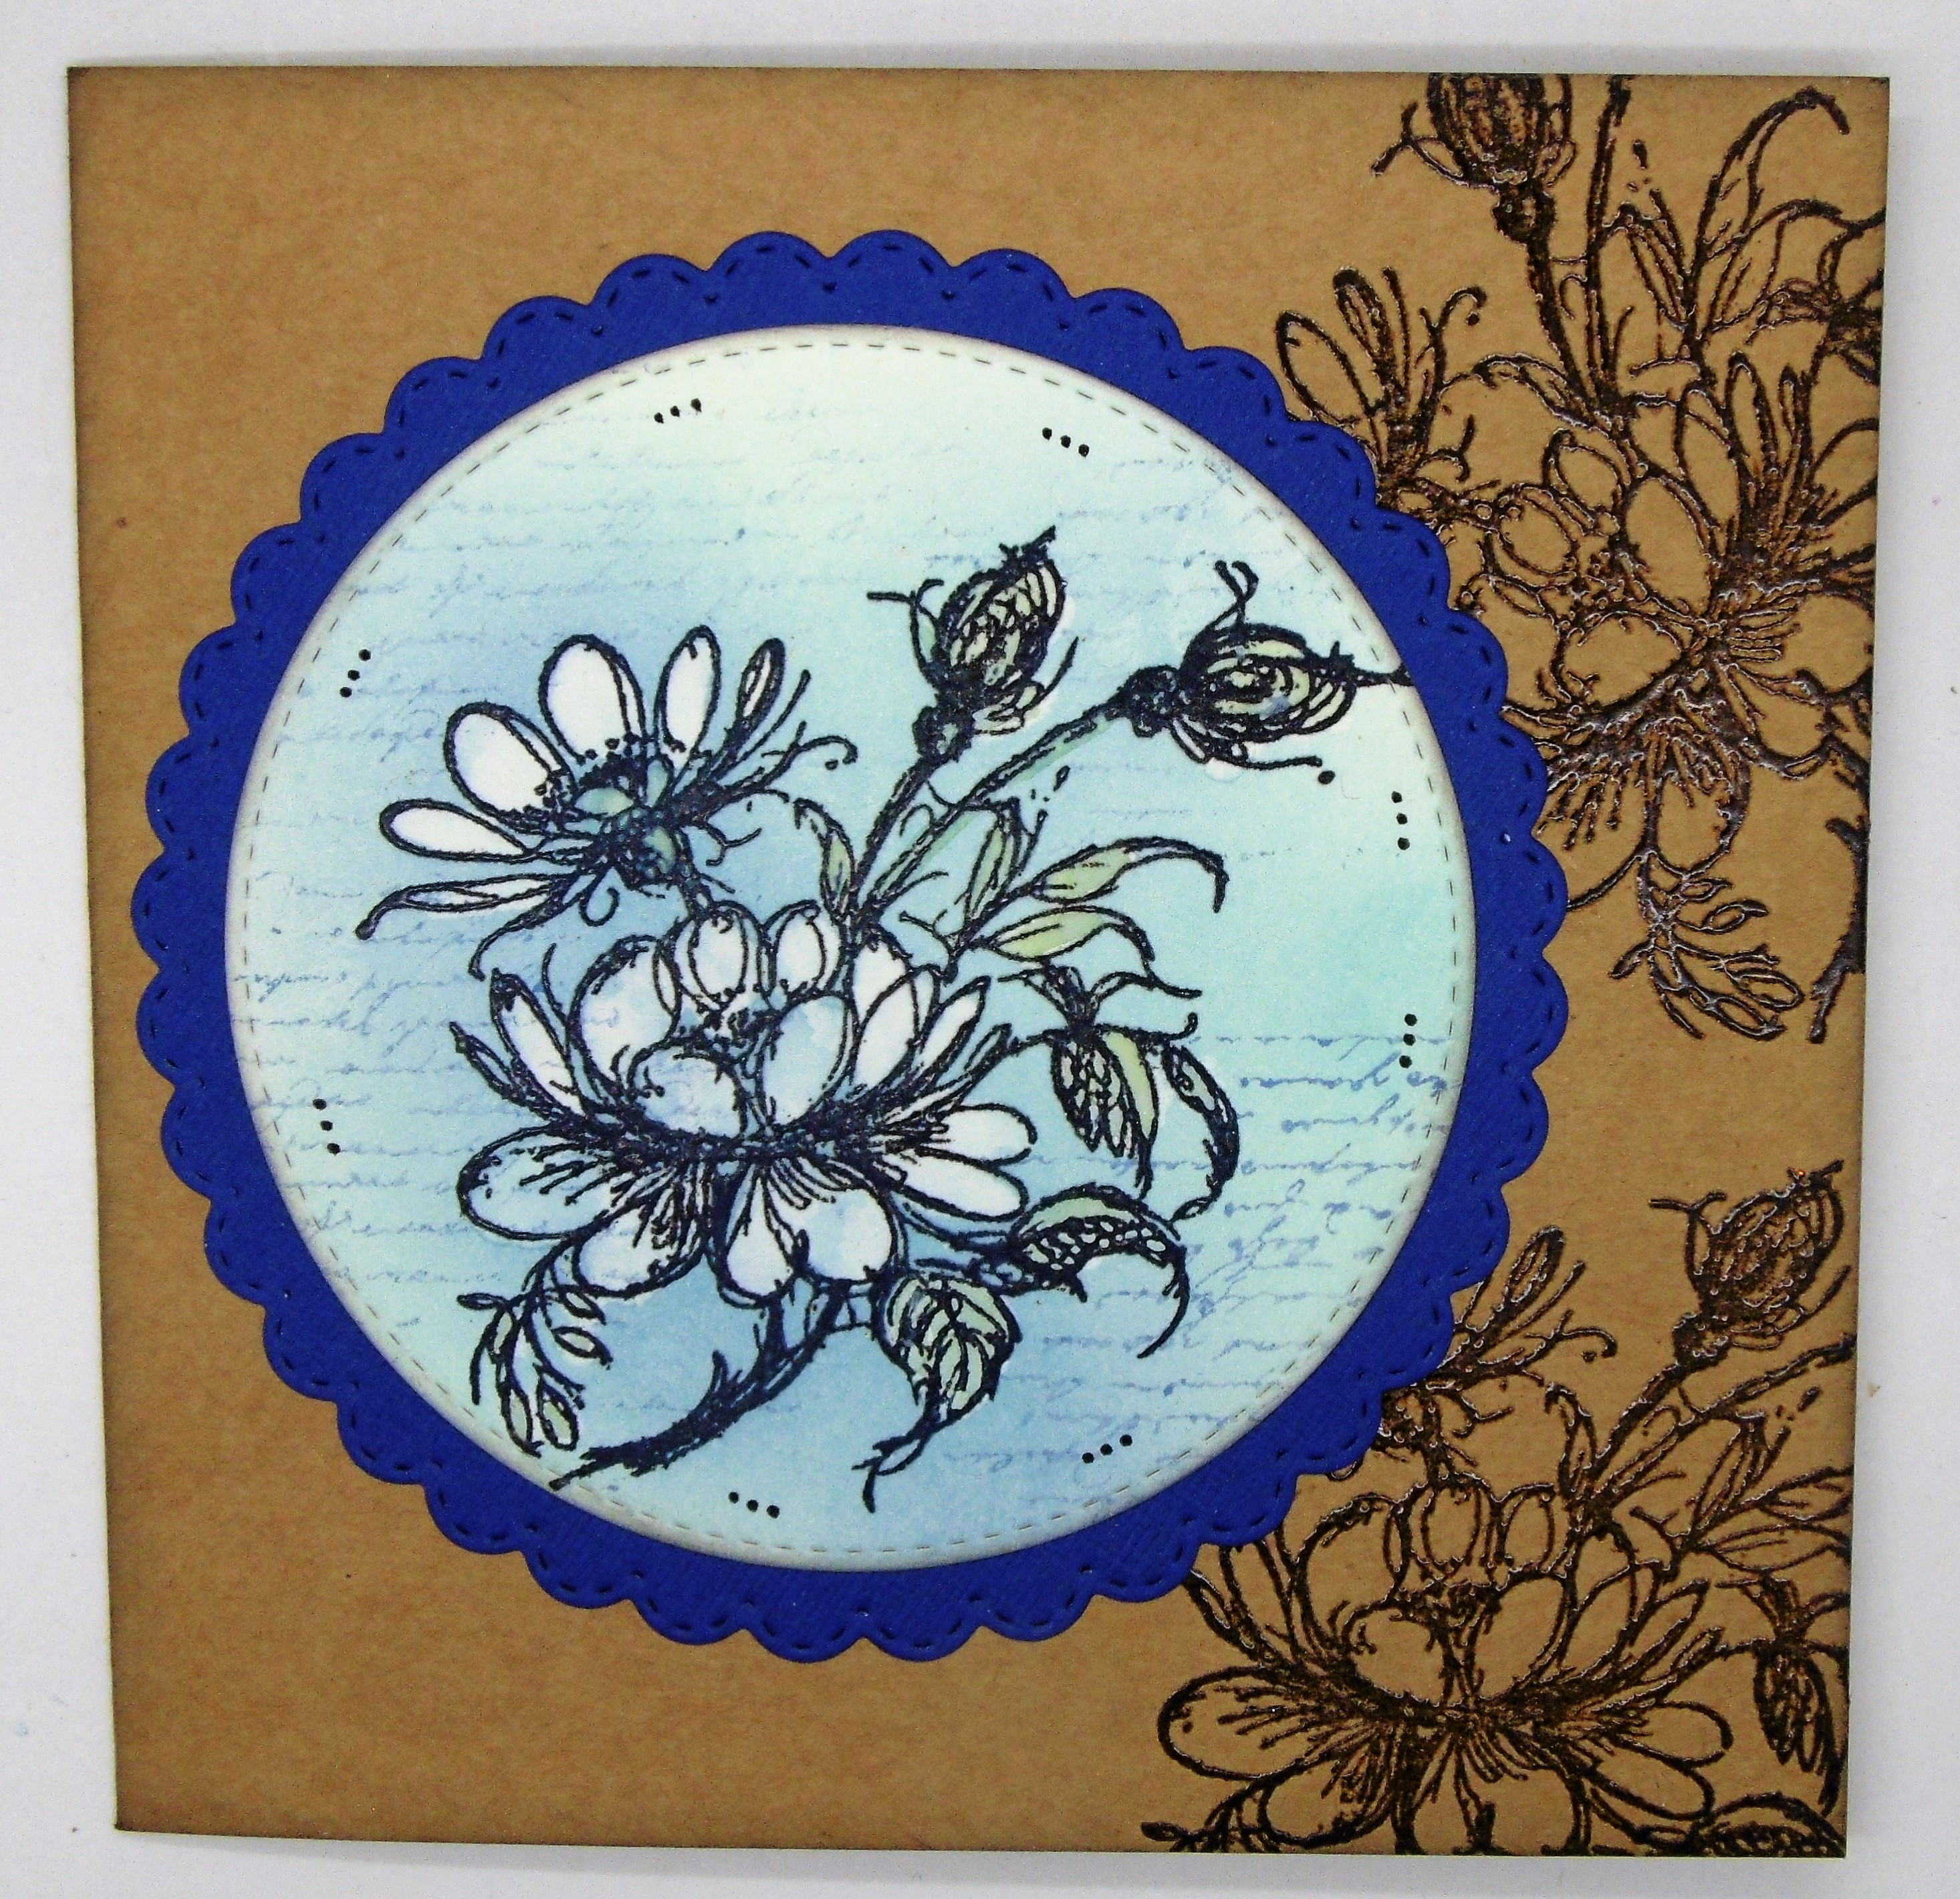
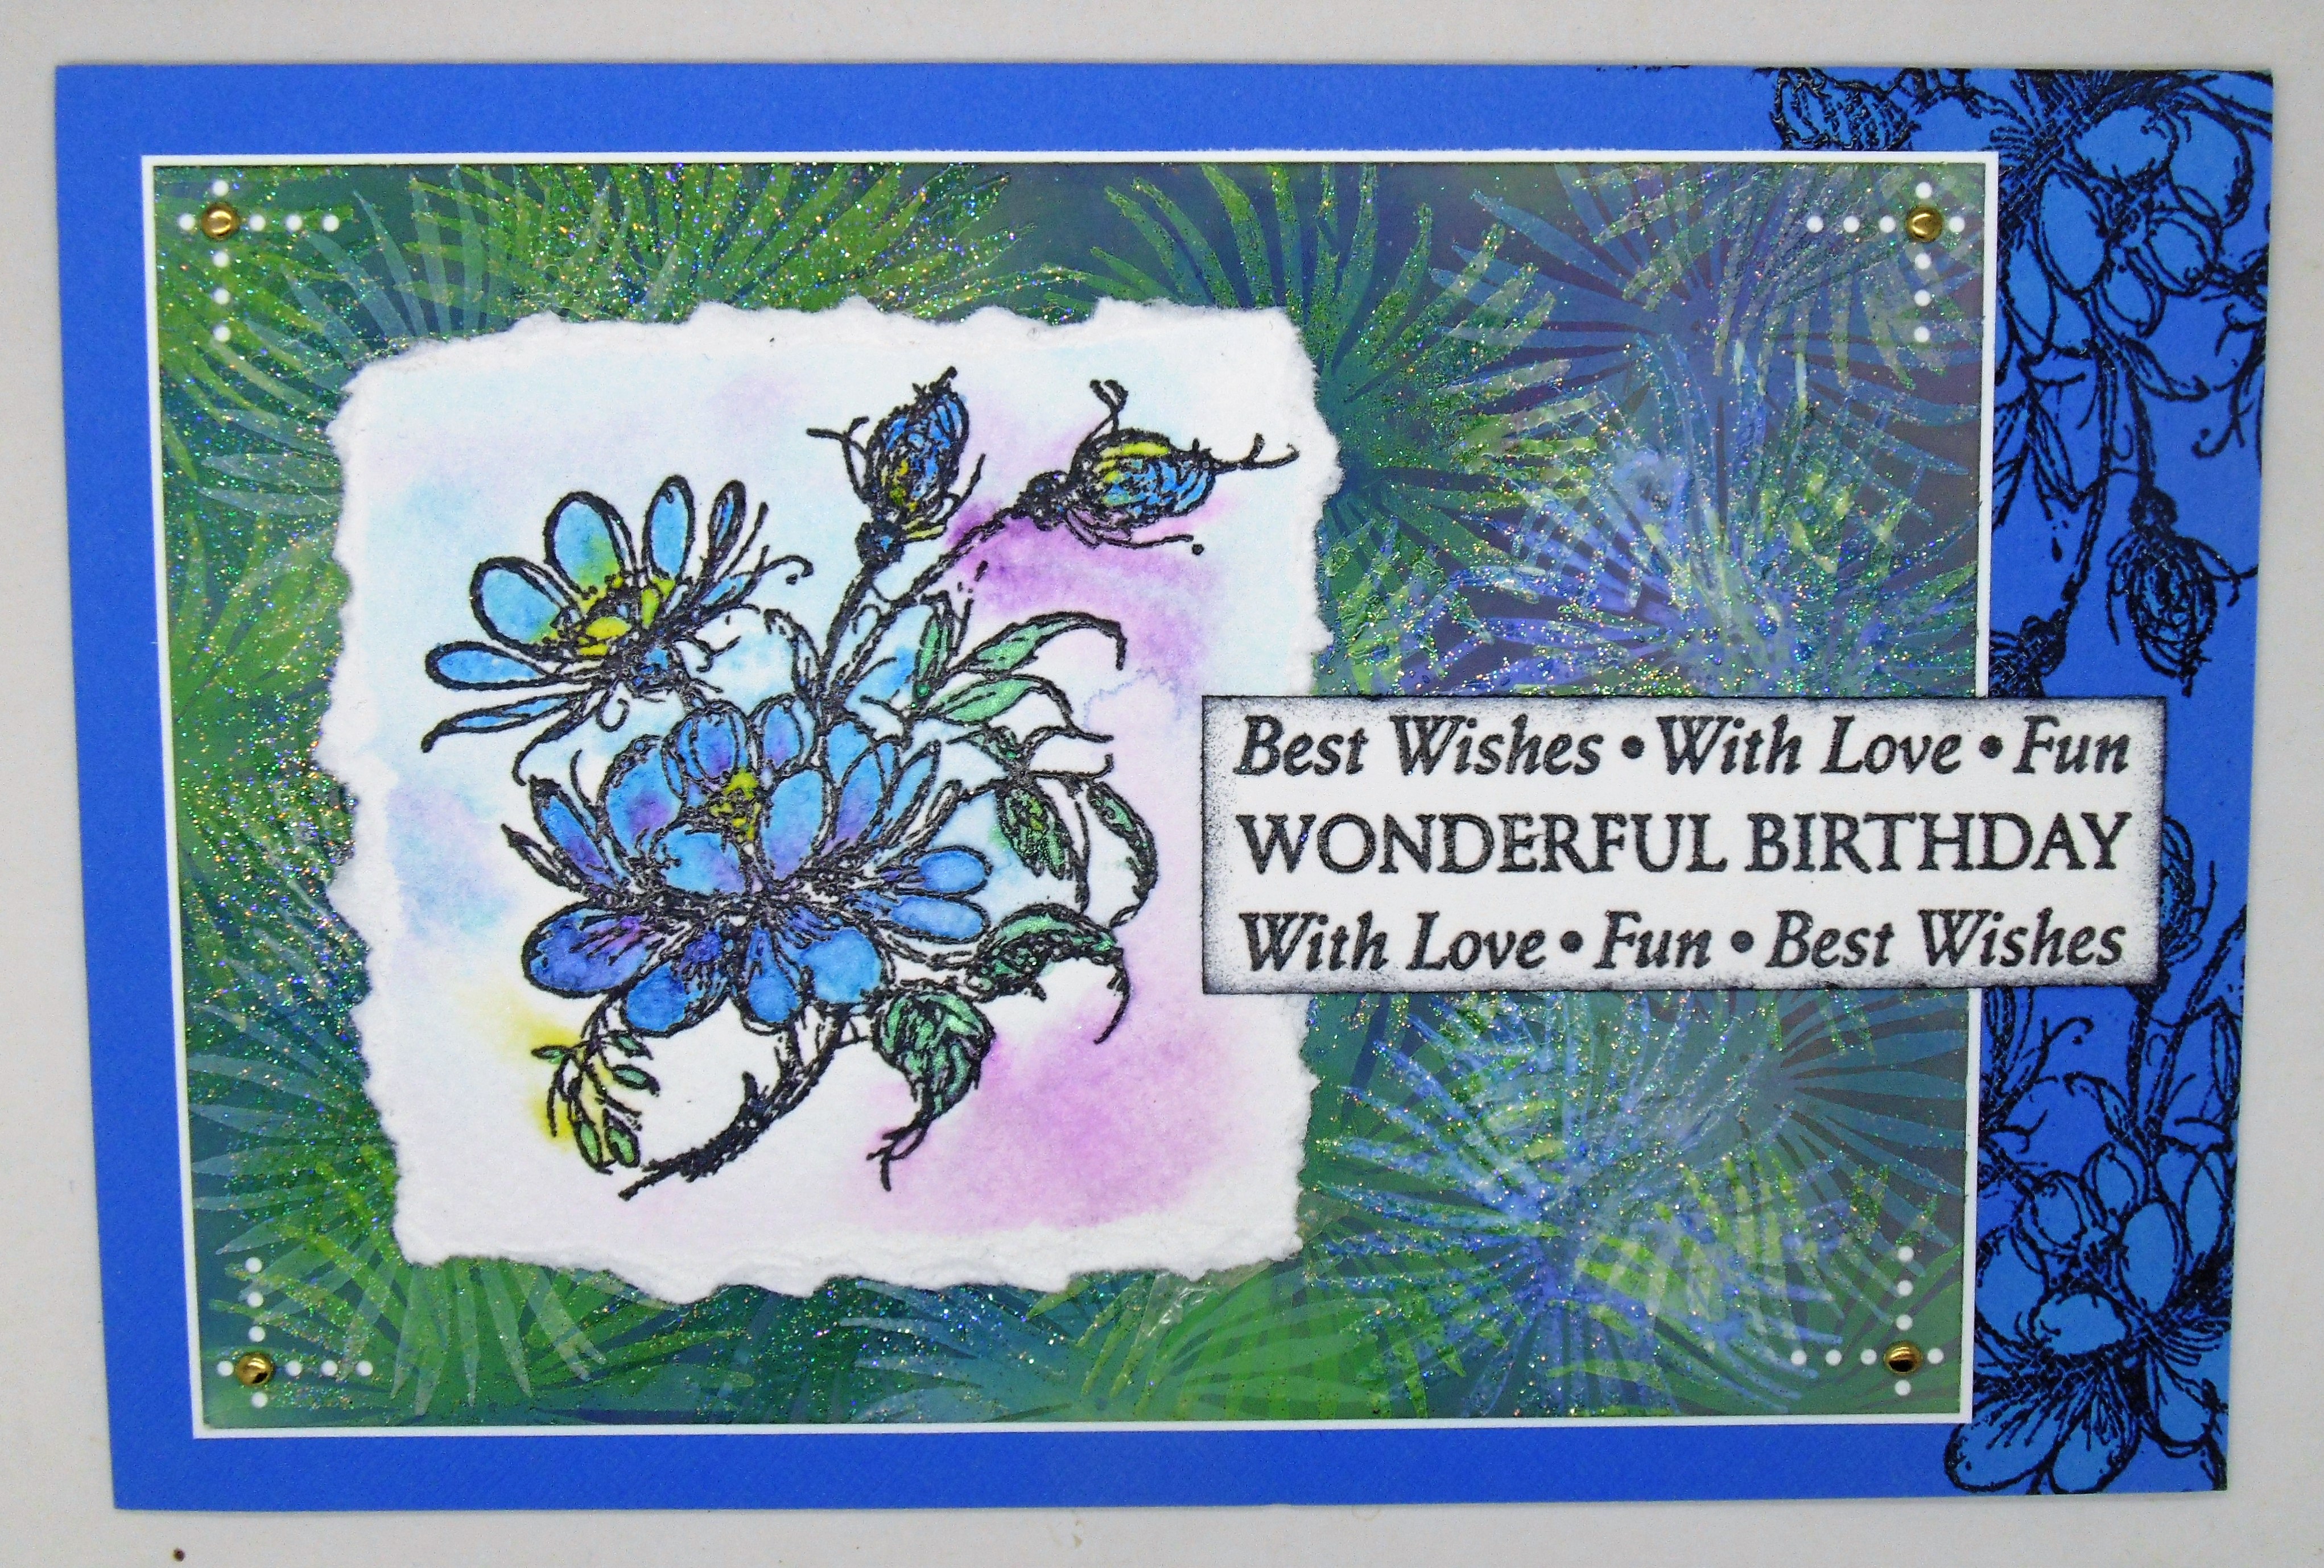
One of my all-time favourite Hobby Art stamps has to be this floral stamp.
2/ 
It was taken from a painting done by the Mum of my good friend Anna.
3/
My stamp is an original wood mounted rubber stamp, but it is now available as part of a clear stamp set CS207D Jean's Flowers which also contains several of Jeans other fabulous painting inspired designs.
4/
We all like to get good value for money, so we want designs that can be used in a variety of different ways.
5/
With this in mind I have held several 'With One Stamp' classes over the years and this is definitely a favourite stamp to use.
6/
There are so many different cards that you can make,
7/
So here are just a few to get you started.
8/
Some use hand made backgrounds and inks
9/
Others are die cut or torn from a panel.
10/
Some use several images,
11/
while others only use part of one.
I will write a brief list of the techniques involved on each card just to give you some ideas.
  1. Bleeding Art Tissue background panel. Images painted with bleach.
  2. Spotlight panel of bleeding Art Tissue. Background stamping uses the damp tissue as an ink pad.
  3. Bleeding Art Tissue background and Spotlight created from a panel die cut from Card 4.
  4. Window Card. Image painted with inks. Die cut window used on Card 3.
  5. Background panel created with Pixie Powders and cling film.
  6. Stamped and Embossed image sponged with Distress Inks. Image painted with water and blotted with kitchen paper to remove ink.
  7. Same as Card 7.
  8. Stamped and embossed image painted with ink. Images on main card painted with Pearlex.
  9. Torn hand made background panel, image painted with inks. Multiple Resist background.
  10. Masterboard panel layered onto a piece of scrunched kraft card.
  11. Mop up background panel with stamped and embossed floral image painted with inks.
I hope that this helps, but you can always message me if you need any more detailed info on how I have created a specific card.
Don't forget to check out Hobby Art. They have some amazing designs and a fabulous gallery of cards to inspire you.
Thanks for stopping by.
Hugs Kimx

Saturday, 2 January 2021

Nothing But Neutrals

Hi All,

An old blogging buddy of mine popped up on my Facebook feed yesterday with her first challenge for 2021, so I decided that entering it would be the perfect way to start off the New Year.

The challenge blog is called The Rainbow Card Challenge Blog and their colour challenge for this month is Nothing but Neutrals.

Now I haven't exactly been crafty over the last few weeks due this blasted virus, so I had a look through my photos to see if I could find a card from my stash that might fit the bill, and this is what I found.

I stamped and embossed Jane's fabulous JGS329 Single teasels on to a piece of cream cardstock and then added some distress inks with a blending tool. 
Next I added some background stamping again using Distress inks.
Finally I ran the entire piece through my embossing machine with a Bubbles stencil (they call them masks) from Dutch Doobadoo. If you use an embossing mat underneath the stencil you get a nice embossed pattern in the card stock just as if you had used an embossing folder
With the stencil still in place I added some smoky grey ink and then some Imagination Sparkle Medium using a piece of cut'n dry felt. You only need a small amount of the Sparkle Medium on the felt pad but by using a circular motion over the stencil you burnish the medium in to the paper to give a foiled appearance, which of course looks much better in the flesh than the photos lol.
The sentiment is a favorite old one from Hobby Art.
I hope that this is neutral enough for Mynette's challenge at The Rainbow Card Challenge.
Thanks for stopping by. I'm off for a granny nap I think, covid really does take it out of you.
Hugs Kimx

Wednesday, 9 September 2020

Inspired by Hobby Art especially for Gill

Evening Everyone,
It's time for another card to support my lovely friend Gill over at the Christmas Cards and Papercraft Challenge on Facebook.
Today Gill posted a card using a stencil to create a large ink sponged aperture in to which she had stamped.
You can post anything you like but obviously it would be good if you could try out the technique that Gill used.
I rummage through my not inconsiderable stash of cards and found this one that I create in an 'Inspired by Hobby Art' class quite a while ago.
I crated an oval aperture with a stencil mask and then did plenty of sponging, stamping and embossing.
I'm afraid my instructions are nowhere near as good as those that Gill shared on Facebook lol.
Maybe you will find the time to try out this technique yourself.
Thanks Gill, it's nice to be reminded of some of the fun classes we shared.
Stay Safe.
Hugs Kimx

Thursday, 6 August 2020

A favourite of Hobby Art Jenny

Hi All
I'm sorry about my rather brief post last night, once I had cut and paste the Facebook reminder into the page it wouldn't allow me to add anything else.
I'm sure there must have been a way round it, but it was late and I just couldn't fight it lol.
So let me see if I can do better tonight.
I thought that I would share a couple of cards that were actually made a number of years ago,
using an old favourite Hobby Art stamp.
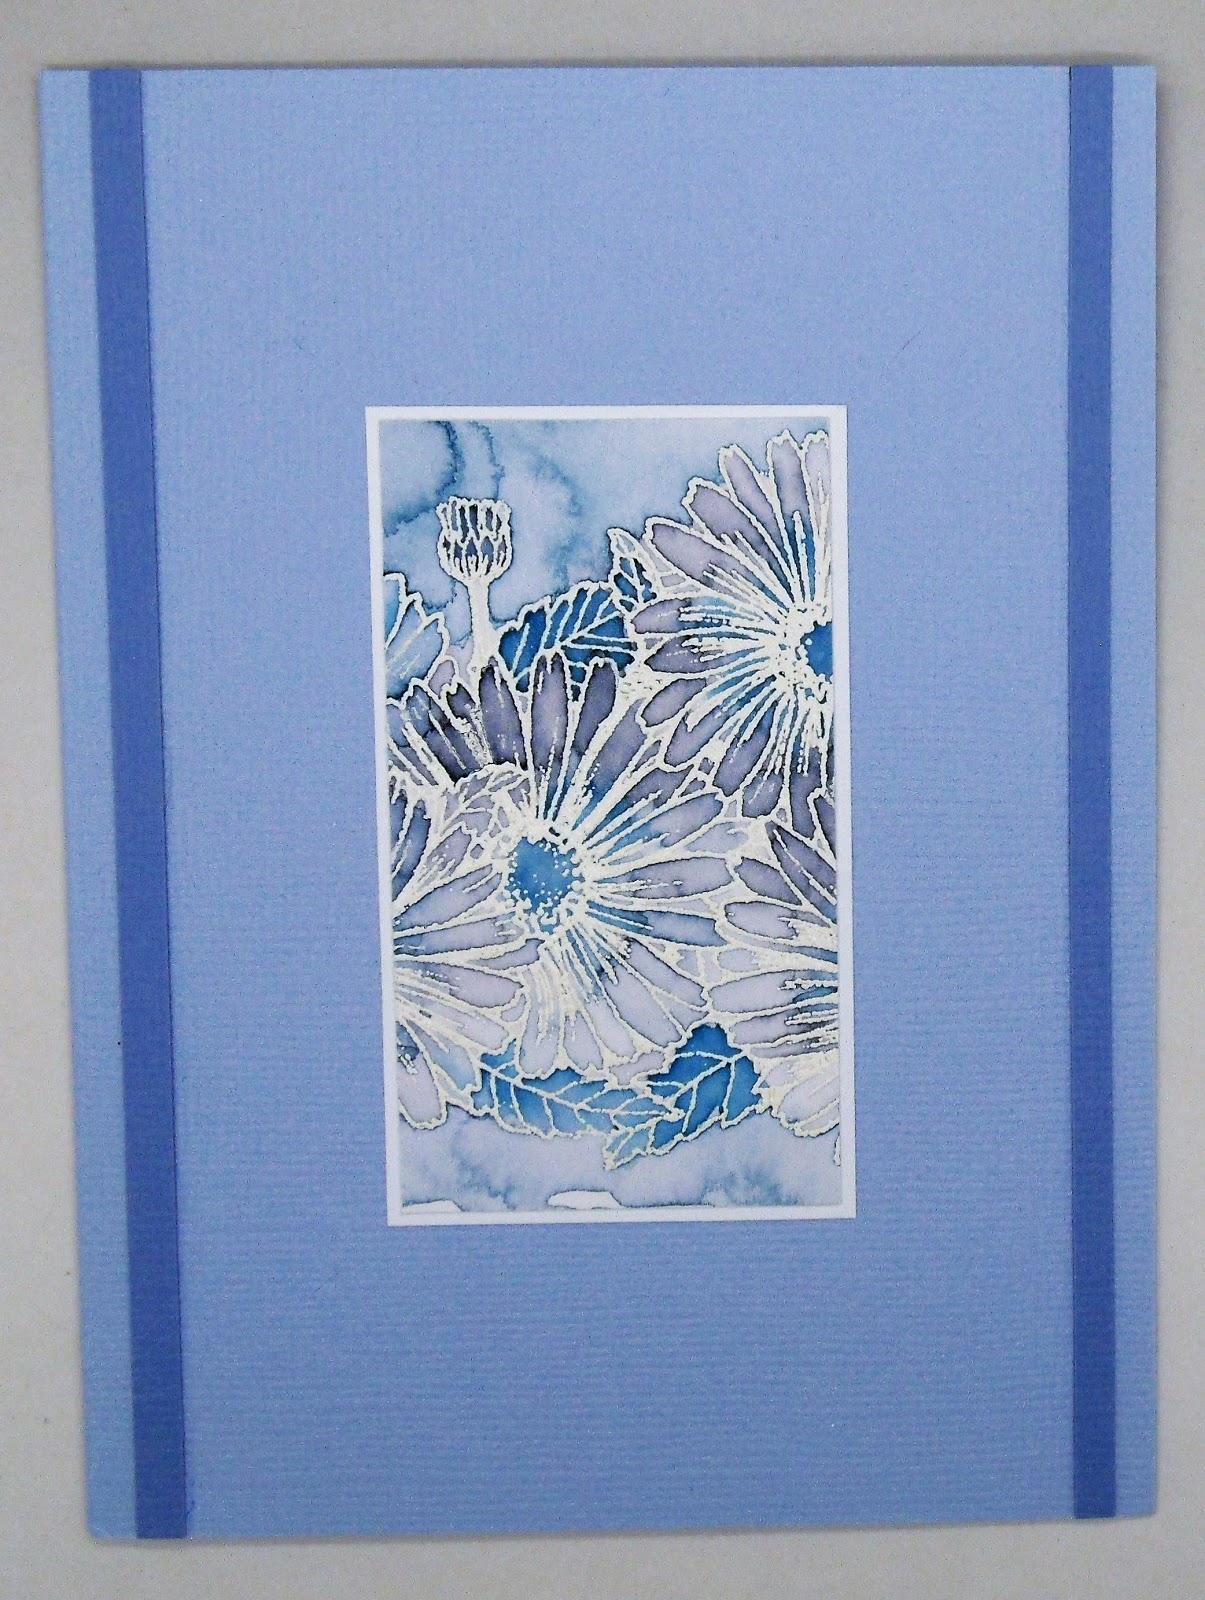
I stamped and embossed the floral image using versafine and white embossing powder onto watercolour cardstock.
I made the card stock very wet and then dropped inks on to it and left it to dry.
It's a very easy technique but can give stunning results. I cut the resulting panel up to make 3 cards, one of which went to Hobby Art Jenny, who often remarks that it is one of her favourite cards.
This card was made in a similar manner, only I also added some irridescent watercolour paints to the flowers 
to make them stand out a little better.
This final card is made in a similar manner but this time uses a single daisy stamp for the background
 along with a single image which I fussy cut and added to the center of the card.
They are rather old stamps so I can't find them on the website, but I'm sure if you contacted Jenny she would be able to tell you if they are still available.
And of course it just does go to show that I do actually use stamps other than those available from Woodware and Creative Expressions lol.
Thanks for stopping by.
Stay safe and hugs
Kimx