Followers

Showing posts with label Gill Till. Show all posts

Wednesday, 2 February 2022

Some Spotlights for Gill

Afternoon,

My good friend Gill has just set her 'Way to Go Wednesday' challenge over at the The Christmas Card Challenge Group on Facebook. In fact she asked there how long we had known each other. She came and watched me demo at Ally Pally in October 2004. She then produced a copy of my book for me to sign and asked if I could organize a class for her and a few friends, and the rest, as they say, is history.

This week she has chosen a Spotlight card, which I love to do. Apart from anything else it often results in a 'Twofer', and is also a great way to cover up a mistake.

In fact I have made so many over the years that I thought that I would remind you of some of the more recent ones. The first batch are all Christmas cards......very suitable for the challenge group.


And this second batch are all occasion cards.


As you can see there were quite a few lol.
I hope that they will inspire you to try out this fabulous technique. Why not head over to Facebook and join everyone in the group, they come up with some fabulous cards and some cracking tips.
Thanks for stopping by.
A big Crafty Hug
Kimx

Thursday, 5 August 2021

Silhouette Style Grasses

Evening All,

My lovely friend Gill has set us the challenge on Facebook of using silhouette stamps.

I had a look through my card stash and found this card made a while ago using a handmade background, and a silhouette style stamp.
The backgrounds were made using a session with my Gelli plate, inks and stamps.
I love playing with my Gelli plate, you end up with a pile of amazing backgrounds, no two alike.
It's hard to stop cause there might be just enough ink for one more pull.
I think this fabulous silhouette style stamp is from Chocolate Baroque, but I wouldn't be able to swear to it. I do love floral images like these.
Thanks for stopping by.
Hugs Kimx

Friday, 12 March 2021

Use Your Backgrounds.

Evening All,

Friday again, thank goodness. It has been so lovely to see kids walking to school again, but there are definitely going to be some very tired people at the end of the day......parents, teachers and students lol. I know just how tired I felt my first week back at work after only 3 months off with a bad foot last year.

I have spent the afternoon fulfilling a promise to an old crafty friend.

My friend Gill has suggested that we use up some of our stash of background papers, and believe me I certainly have plenty of those.
She made a beautiful card using a piece of background that she had made using vivid inks from years ago......and probably from one of my classes too.
Vivid inks, as their name suggests, were beautiful vivid colours of both inkpad and reinker. I loved using the reinkers for making backgrounds that involved drops of ink a spritz of water and then a smoosh together of two pieces of cardstock.
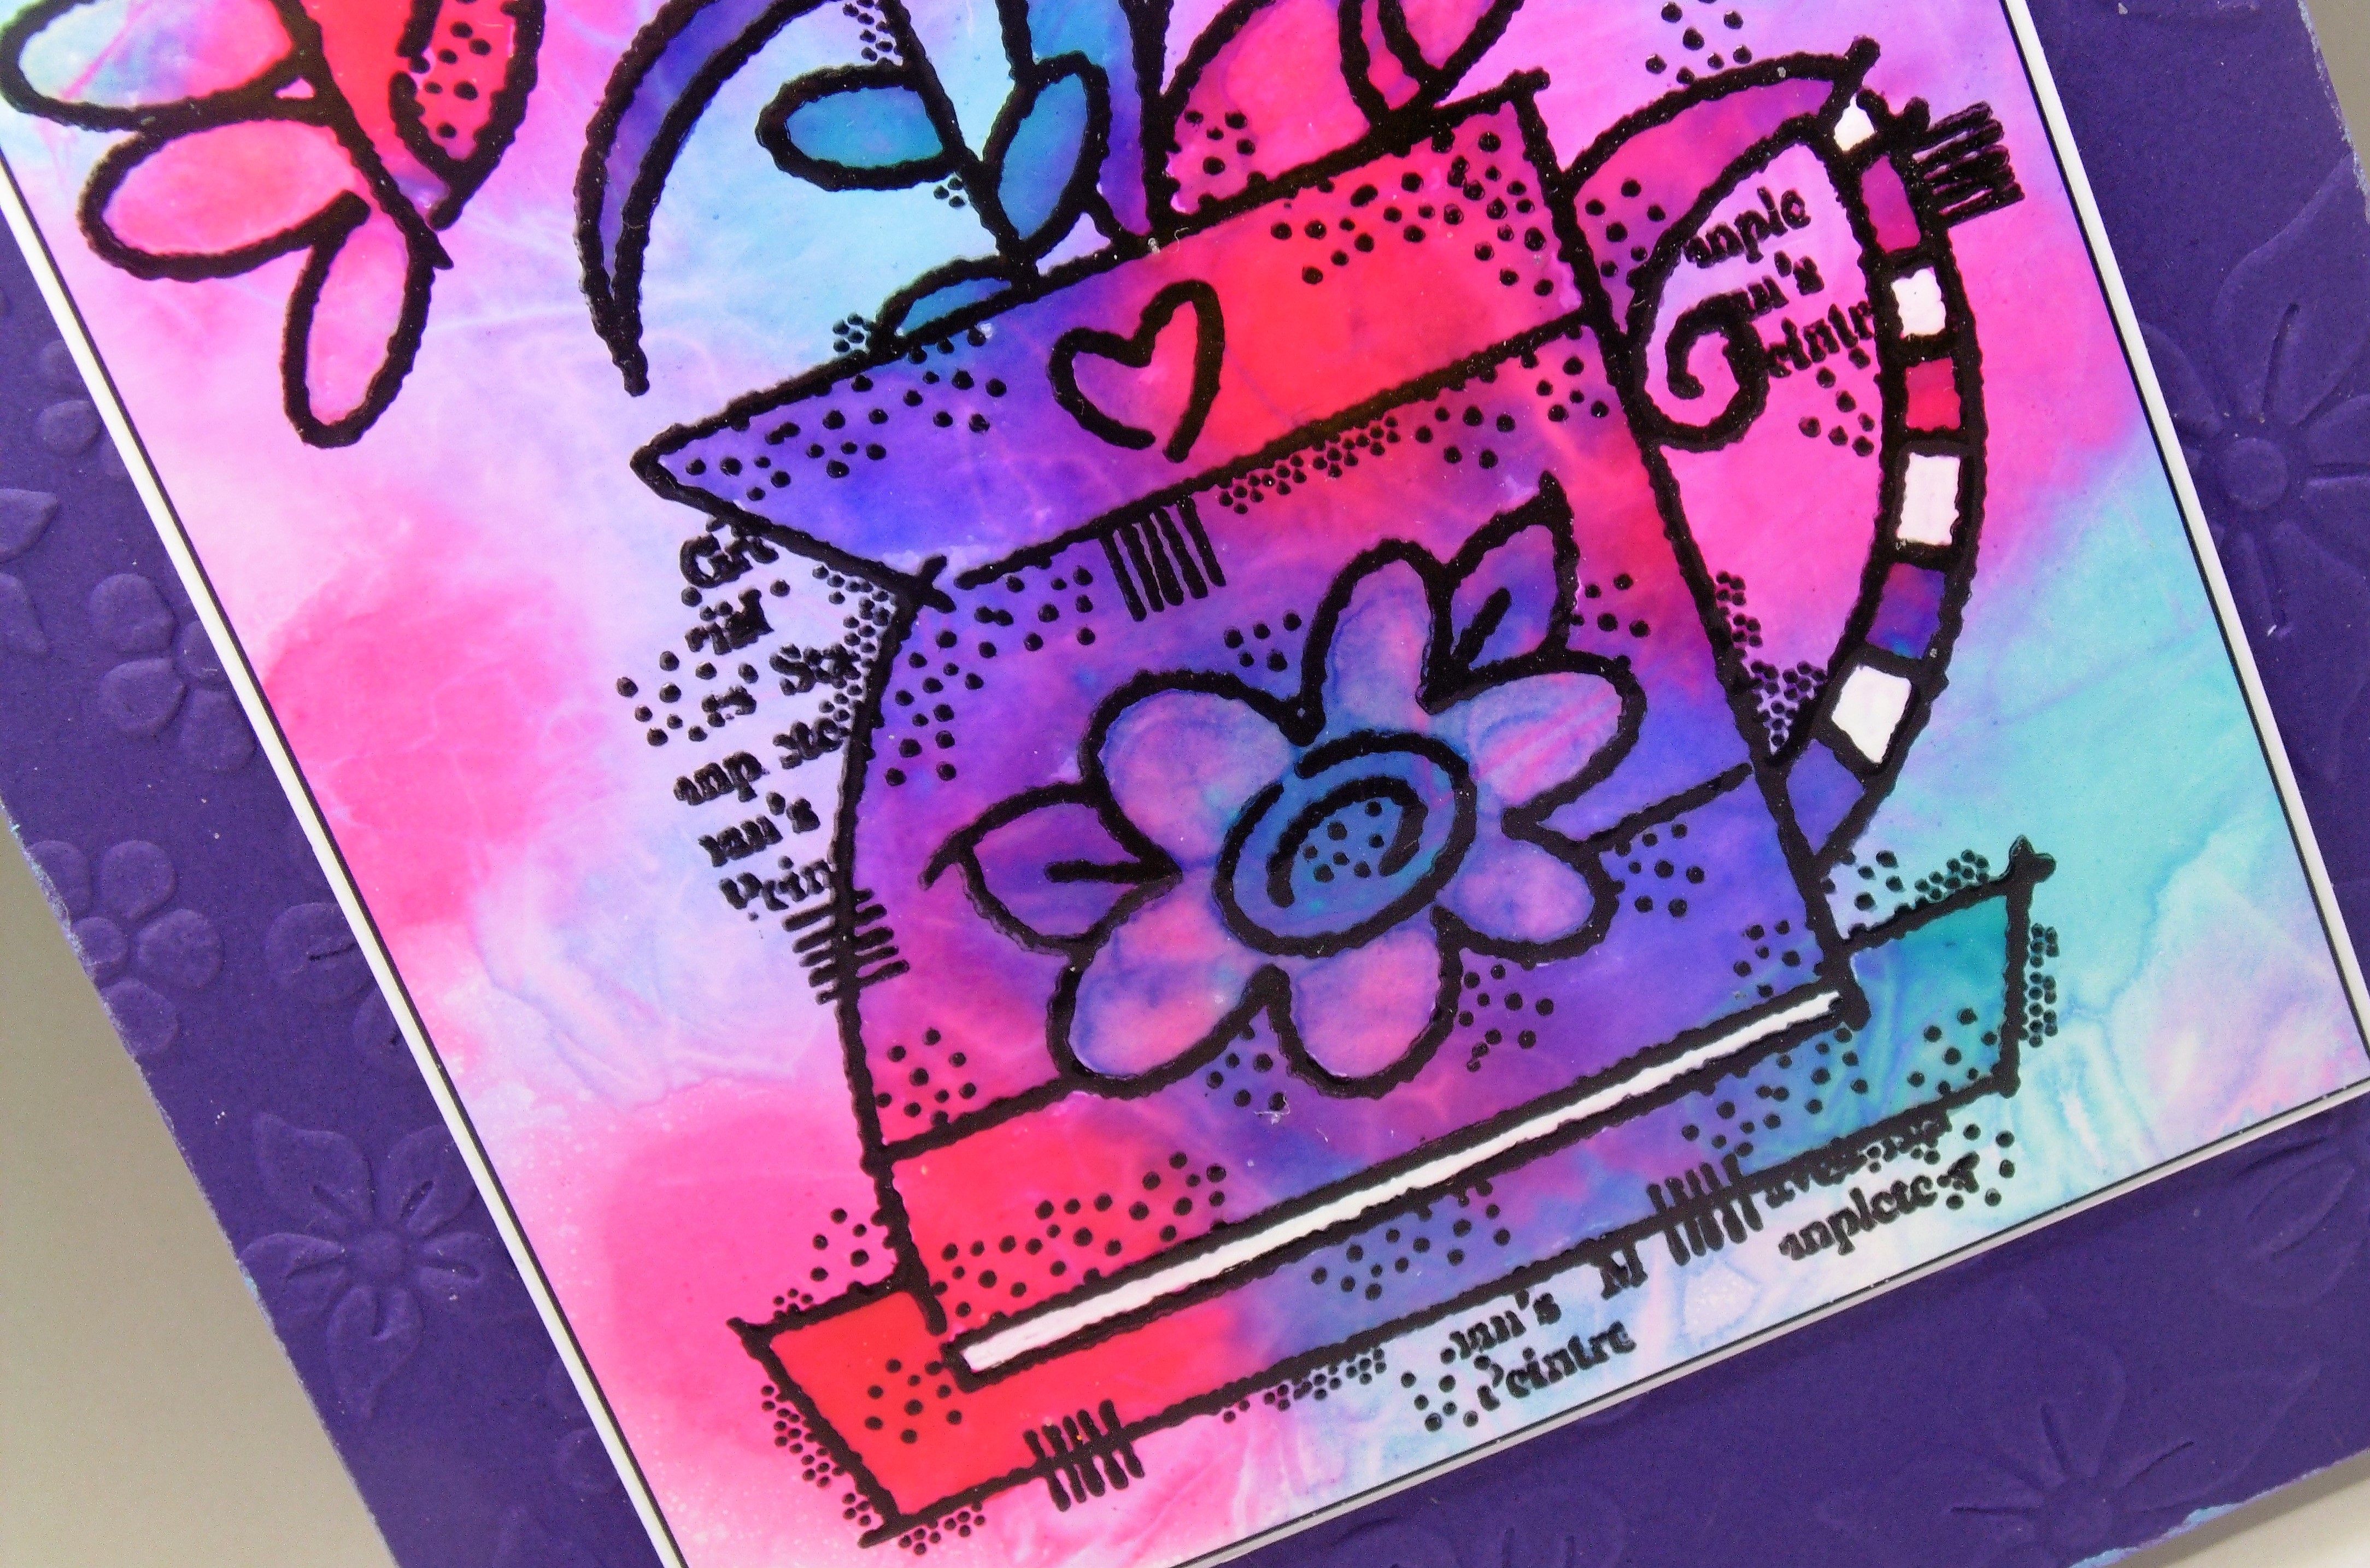
I also used some cling film on this piece. My stamped image is a new stamp from Francoise which has just been released. I used bleach on parts of the image and then coated everything in clear embossing poder having first painted it with a versamark pen.
While I was at it I made a second card using the same fabulous stamped image
and ink mopped up from my spray booth.
Once again I painted the jug with embossing ink and coated it with clear embossing powder.
I've got some more DT stuff to work on tomorrow so better get my thinking cap on.
Thanks for stopping by. Why not play with some of your stash of background pieces, I'm sure that you all have some amongst your stash.
Hugs Kimx

Thursday, 7 January 2021

A Blast from the Past - Retiform

Evening Everyone,

My good friend Gill Till has been doing a fabulous job just lately of reminding us of those much underused items that are languishing in our crafty stash, along with long forgotten techniques on her Way To Go Wednesday over on Facebook.

This week she has reminded me of an old technique that I taught her many years ago called Retiform.
It is a deceptively simple technique also known as the Grid technique owing to the lines/grids that are formed across the card.
It is actually a masking technique which is much easier to achieve than you might think at first glance.
It is also a great way to use lots of stamps on the one card.
I'm afraid that this card was rather hard to photograph as the masked panel has been heat embossed after all the sponging and stamping has been done.
I used large post it notes to mask off the various grids on the card which I then sponged with ink.
I'm having trouble describing exactly what to do, so I'm going to direct you to Google where there are loads of fabulous tutorials and Youtube clips.
I also used the Southwest corner punch and some threads on the Retiform panels.
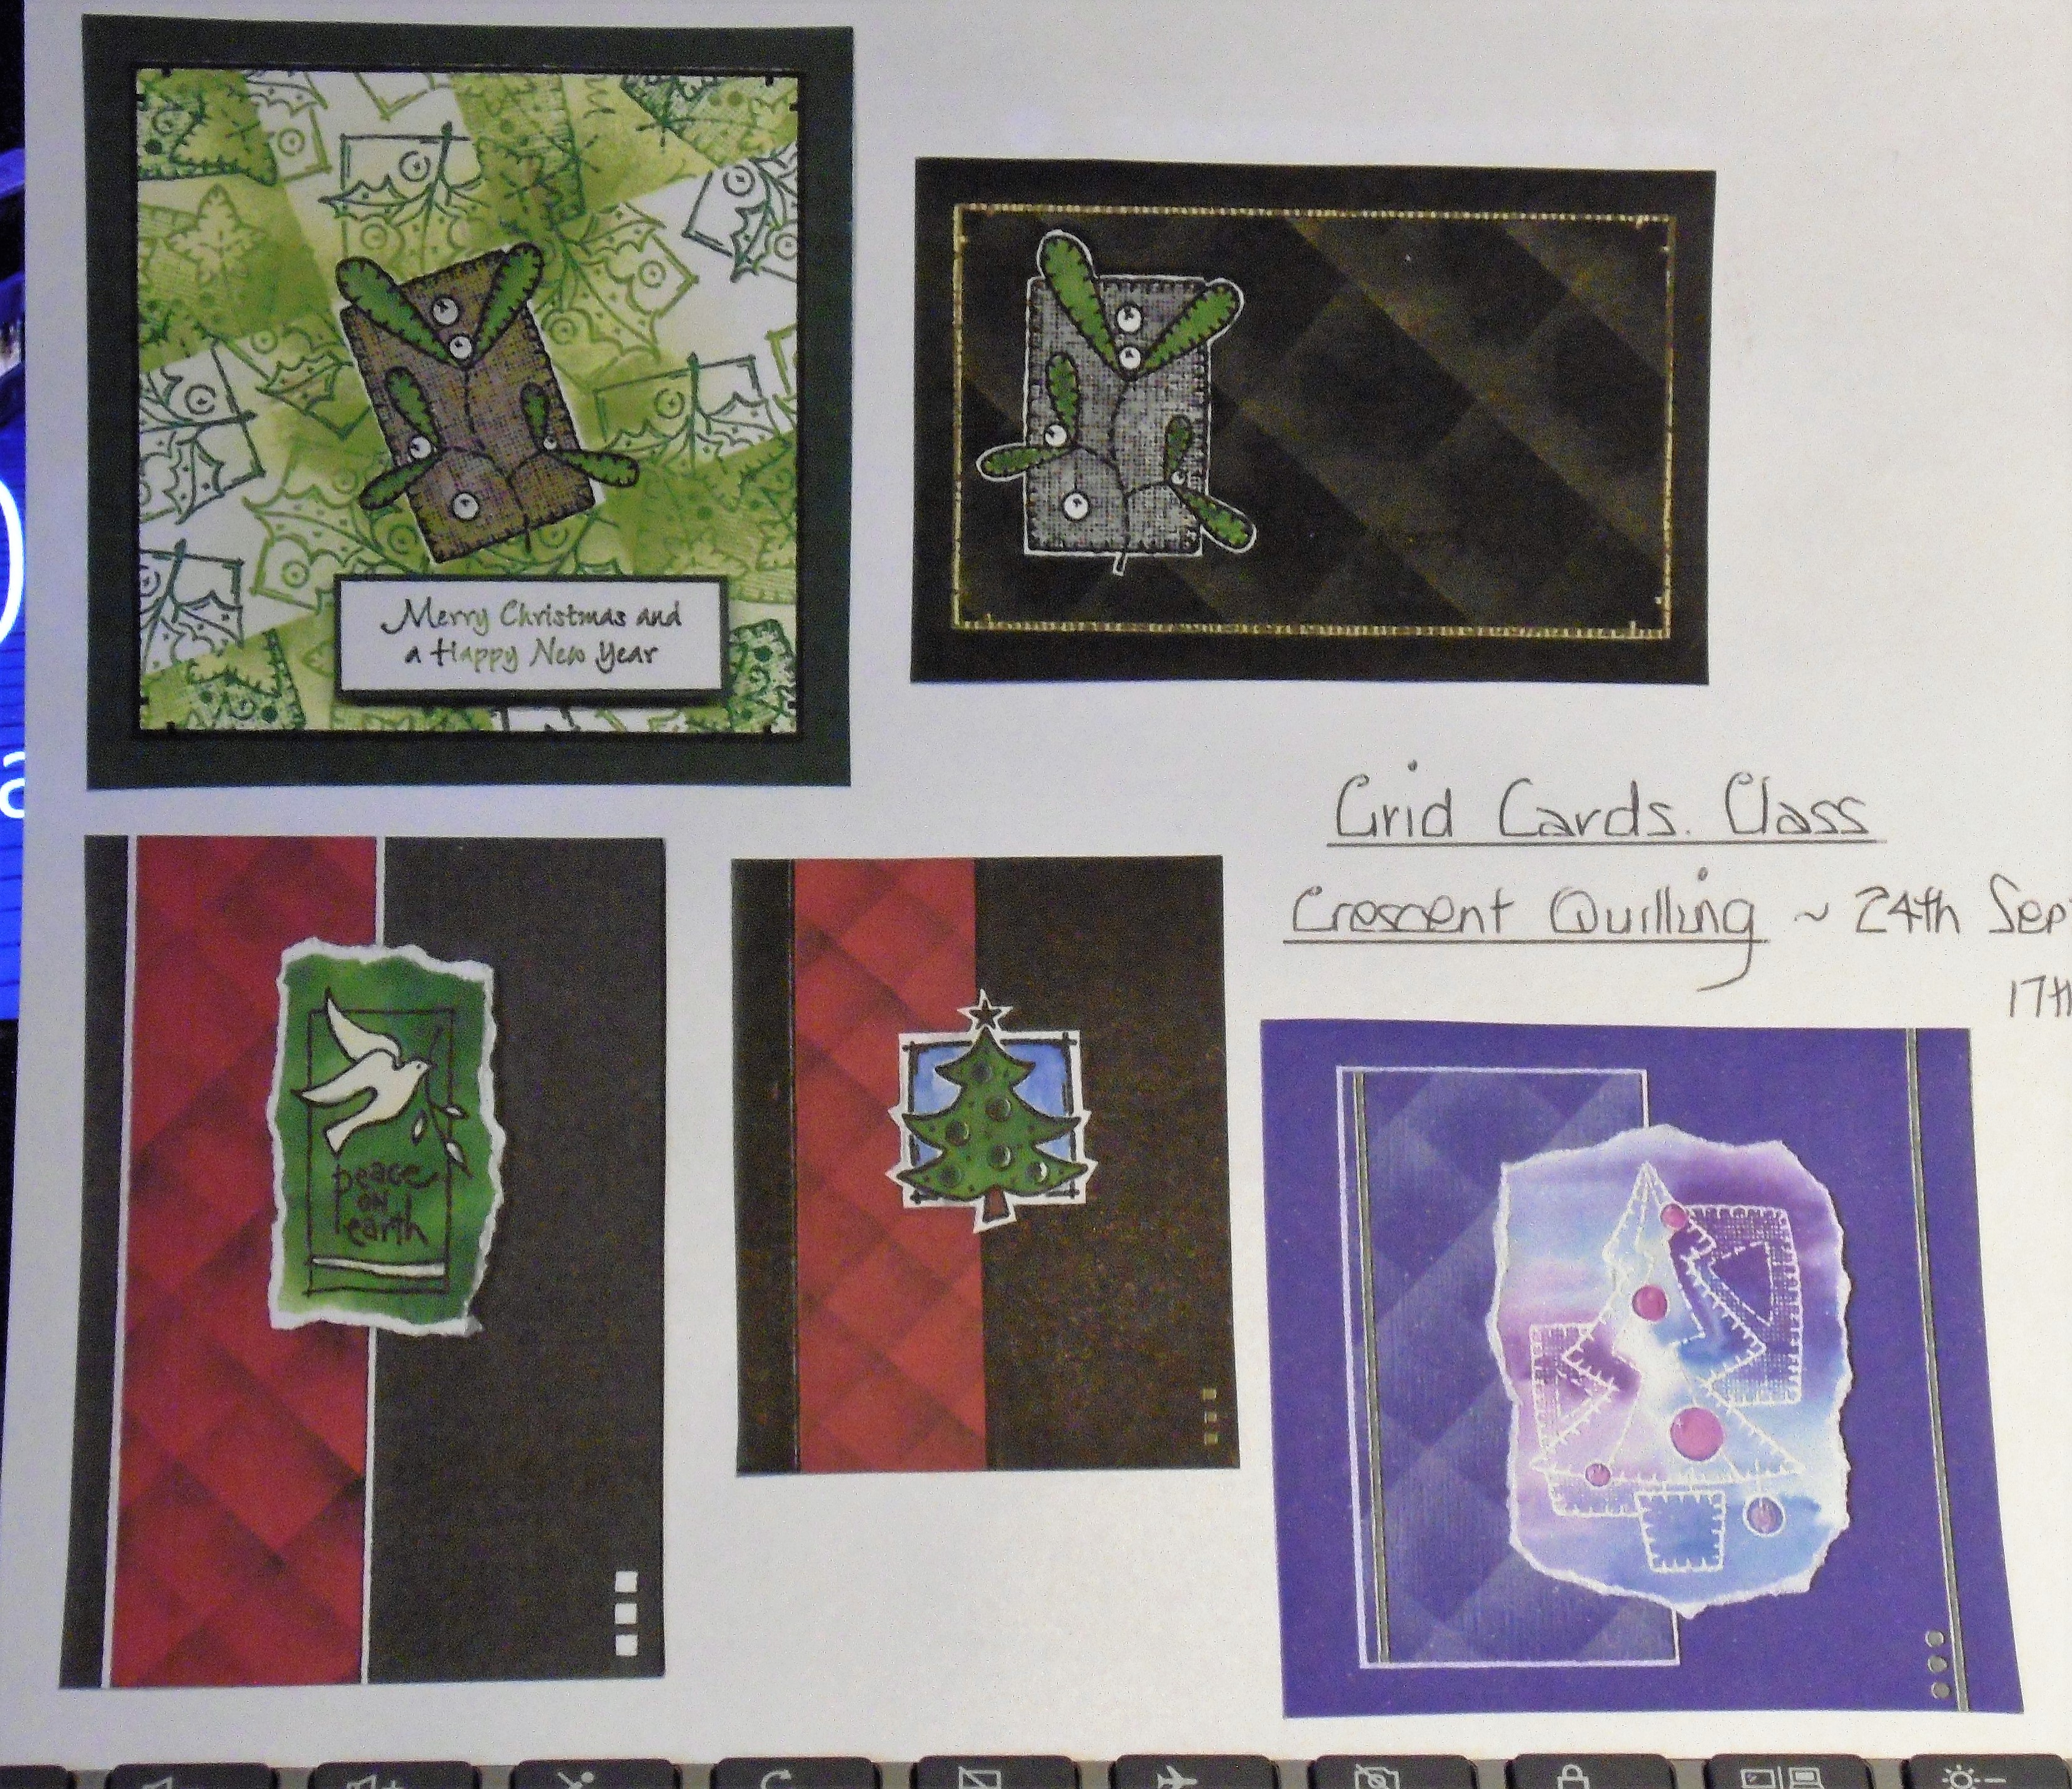
I am one of those sad people that has kept a pictorial record of all the classes that I have taught over the years, 
and it goes right back to 2003!!! So you can see a few more of the cards that I have made using this masking technique.

When I first taught the Retiform technique I used it as a Part 3 in a series of masking classes.

Part 1 (Simple) was basic grid masking as on the top three, and bottom left hand cards. 

Part 2 (Medium) was Retiform masking over a complete stamped image, bottom middle card.

Part 3 (Hard) was Retiform masking to include a central panel and lots of stamps. Bottom right card.

I'm off to link this to Gill's Way to go Wednesday Facebook post, and remind her that I taught her this in April 2006!!!!!! Where did those years go to lol.

Thanks for stopping by. Stay safe and craft.

Hugs Kimx


Wednesday, 18 November 2020

Die Cut Flowers for Gill

 Evening Everyone,

Well our nice bright day, has turned into torrential rain, so I'm going to hide indoors I think. 

Since today is Wednesday it is time for my lovely friend Gill to set her weekly challenge at Christmas Cards and Papercraft Challenge over on Facebook. This week she is looking for Die Cut Flowers.

I delved into my box of cards and came up with a couple that I made in a class at the beginning of the year. I do miss my Saturdays teaching my group of lovely crafty friends.
The background to the card was created by running a stencil through my embossing machine and then sponging it with plenty of ink.
They really are the most fabulously useful things and so very affordable. 
You can use the debossed side as in the first card,
or you can use the embossed side as with this one. I then added the required die cut flowers and foliage, along with a stamped and embossed sentiment.
Same design just a different colour combo. 
I used Distress Oxides for all of them and then added some gilding wax to the finished panel to highlight the dry embossing.
I added some gems or glitter glue to the flower centers. I'm sure that Gill will appreciate the added bling.
This final card uses some die cut and heat embossed snowflakes. 
I die cut the snowflakes and then covered them in versamark ink before adding Frantage Embossing powder.
I hope that these will inspire you to dig our your floral dies and stencils.
Thanks for stopping by.
Hugs Kimx